- Lightroom Presets
- Mobile Presets
-
Photoshop
-
Learn
-
Support
-
Install
- Best Sellers
- Blog
By Karissa Collins on | No Comments

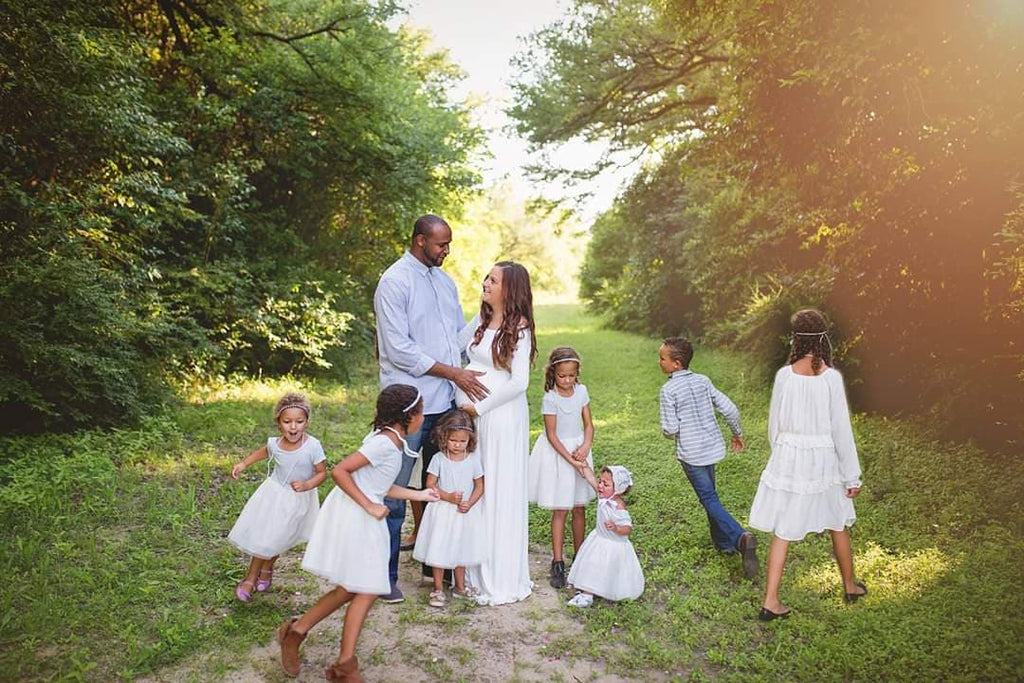
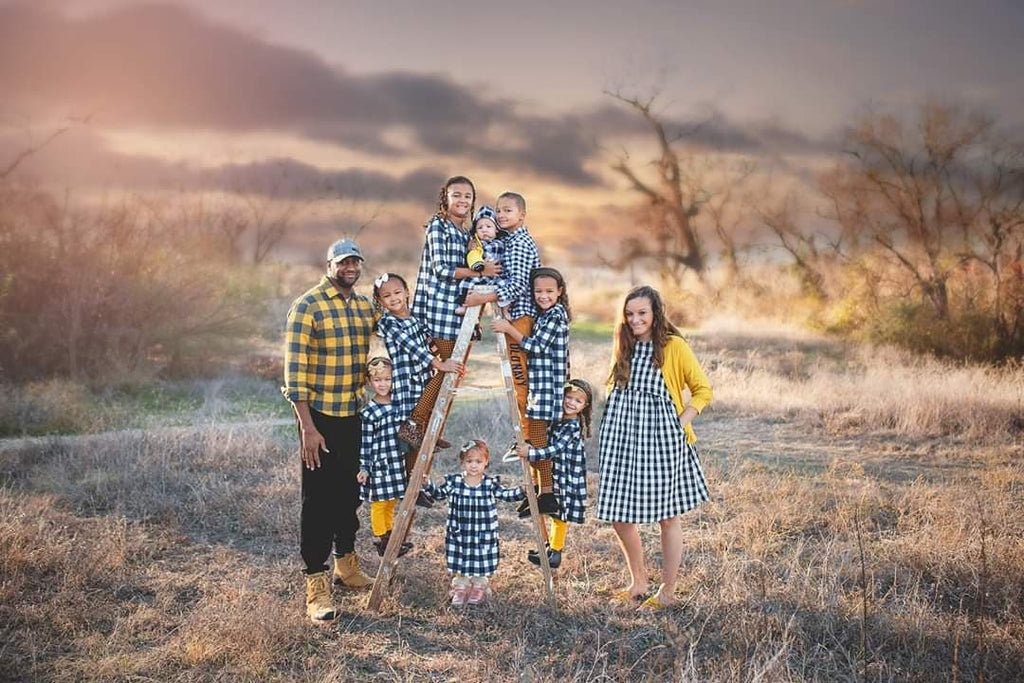
We all enjoy photos of ourselves, including photos of us with our children and photos of our whole family together! But finding someone else to take these family photos every day is pretty much NOT going happen.
And hey, we're photographers! We don't want to pay someone else to do what we can already do, right?
So in order to capture the family photos I really wanted (with myself included in the shots), I decided to spend every single day during this past year practicing self-portraits using my timer.
To save you plenty of time and frustration, here are some tips and tricks I learned along the way:
After hours and hours or practice, I have mastered self portrait photography with a remote and without. Based on my experience, however, I would suggest that you DO use a remote.
You will find that shooting a self portrait using a remote is much easier and remotes are not that expensive. For example, a Canon IR wireless remote averages around $7-$10 with free shipping.
Here are some of the advantages of using a remote:

Another necessity for self-portraits is a tripod. I have tried shooting without one as well, but it is so much easier and less stressful with a tripod. Balancing your camera on tables, books, and other objects can be risky and expensive if your camera gets damaged when it accidentally topples over. Trust me, DON'T DO IT.
Tripods can be expensive but keep in mind they don't have to have the top piece that connects to your camera - you can find a connector online that matches your camera.
You can find some great suggestions for tripods here.

So now that you have your equipment. What do you do next?
First, you will need to decide where you want to take your photo(s). For best results, try to pick a location with great light.
Then, when you're ready to shoot, set up your tripod and set your camera to the self-timer option. Make sure to choose the option with the longest time. My camera has a 2 second and a 10 second option, so I always choose the 10 second option.
If there will be children in the photo, place them where you want them to be, focus your camera and then push the button. Walk (or run) into the photo (I don't always make it in time for the first picture, but your camera will now respond to your timer).
Once you are all in place, click away. Push your remote button as much as you want. Try different faces and poses to ensure you get a good picture.

With self-portraits, practice makes perfect. If you don't get it right the first time, readjust and try again. The memories you will make from self-portraits will be worth the trial and error.
Learn more about how to take self-portraits here.
Do you have any questions or comments about using your timer for self-portraits? Leave us a comment below - we would love to hear from you! And PLEASE SHARE this post using the social sharing buttons (We really appreciate it)!


I have been married for 10 years (in July) and am the mom to six amazing little blessings ages 7, 5, 4, 3, 1 and 3 months. I am a God-fearing, home-schooling, photography obsessed mom who makes...yes makes...her children take pictures everyday. I started my photography journey exactly two years ago and it has been such a great learning experience and start up business. It can get hard balancing being a mom, teacher, wife, disciple and photographer but the benefits outweigh the stresses. I specialize in family photography and newborns but enjoy weddings and engagement photography as well.

Comments