- Lightroom Presets
- Mobile Presets
-
Photoshop
-
Learn
-
Support
-
Install
- Best Sellers
- Blog
By Arista Marreiros on | No Comments

As a professional photographer with over 15 years of experience, I've evolved through countless editing styles and workflows. But one guiding principle has always remained the same: I aim to capture each image as close to perfect as possible in-camera.
Being not just a photographer, but also a wife and mom, I've learned that time is precious. That's why efficiency has always been at the heart of my editing process. I've developed a streamlined Lightroom workflow that enables me to edit more efficiently, without compromising quality, creativity, or consistency.
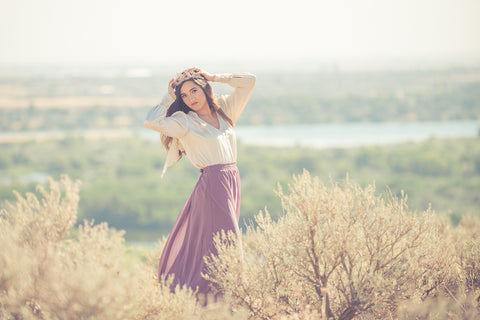
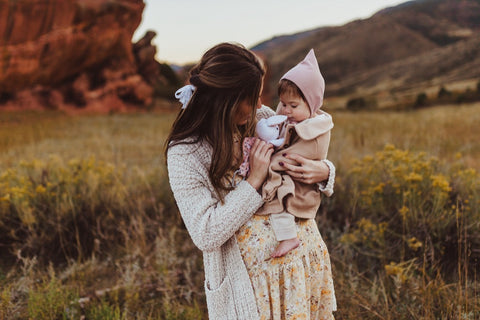
While my editing style has evolved over the years, I've consistently gravitated toward a light and airy aesthetic, characterized by warm tones with a vibrant pop. I prefer to keep edits minimal and natural, using subtle enhancements that elevate an image without making it feel overly processed.
Of course, great editing starts well before you open Lightroom. Factors like lighting, location, camera settings, weather, and even your client's wardrobe all play a role. And while we can't control everything on a shoot, editing is the one area where we do have complete control—it's our post-production superpower.


For nearly seven years, I've relied on the beautiful preset collections from Pretty Presets—and it's truly been a game changer. These tools have empowered me to edit quickly and efficiently, helping me to refine my workflow and develop into a more confident and consistent editor. Over the past few years, I've finally found a signature style I love—thanks in large part to the inspiration and education I've received through Pretty Presets.
Even more impactful has been the Pretty Presets Facebook community. Being part of this creative and supportive space has been a true gift. Photographers from around the world come together to share their work, offer encouragement, and exchange tips. It's a safe, inspiring place to learn, grow, and celebrate one another's journeys.
When it comes to my workflow, I like to keep things simple and streamlined. I've experimented with tools like Aftershoot for culling, but I've found that a more "hands-on" approach works best for me. That's why I do everything from start to finish within Lightroom Classic.
While many photographers choose to specialize in a specific niche, I enjoy the variety of capturing different types of sessions. From indoor studio shoots to golden hour outdoor portraits, my work encompasses a diverse set of lighting situations and environments.
Naturally, my workflow can shift a bit depending on the session, but there are a few core editing techniques I consistently return to, and I'm excited to share those with you next.

Once I've imported my images into Lightroom Classic, I begin my first round of culling directly in the Develop Module. I prefer to take a hands-on approach, carefully reviewing each photo and marking my favorites by clicking the small circle in the top-right corner of the image thumbnail. This automatically adds them to the Quick Collection in the Library Module, making it easy to access and sort through my selected images later.
As I enter the editing phase, I conduct a final cull, removing any images from the Quick Collection that don't make the final cut. This ensures that only the strongest, most consistent photos make it into the finished gallery.
I always kick off my editing process with the Clean Portrait preset from the Pretty Presets AI Portrait PRO Collection. It's the perfect foundation for a clean, polished look. I typically set the Amount Slider between 55 and 75, depending on the lighting and skin tones in the image.
Next, I layer on the Sahara preset from the Warm and Organic Millennium Preset Collection. I love this particular preset for its soft warmth and subtle glow—it adds just the right amount of richness to my photos. Most of the time, I don't even need to tweak the amount slider; it's beautifully balanced right out of the box and incredibly versatile across different sessions and lighting situations.
Next, I crop the image to enhance composition and draw focus to the subject. From there, I move into tonal adjustments:
These small tweaks make a significant difference and help convey the mood I want to create—natural, clean, and full of life!


Once I'm happy with the adjustments, I copy the settings by pressing keyboard shortcut Ctrl+C on a PC (or Cmd+C on a Mac). In the copy settings dialog, I select "Check All," but I make sure to deselect "Crop"—since each photo may need its own unique crop.
Then I move to the next image and paste the settings using Ctrl+V on a PC (or Cmd+V on a Mac). This simple step is part of my batch editing process—it saves a considerable amount of time and ensures a cohesive, polished look across the entire session.
If the images were taken in the same location and under the same lighting conditions, I rarely need to make additional adjustments. However, when we've moved around or the lighting changes, I go back in and make any necessary adjustments, always cropping each image individually to achieve the best composition.

While my basic workflow remains consistent, I have a few extra tools and adjustments that I reach for to elevate certain images, especially close-up portraits or more complex scenes. Here are some of my go-to techniques:

When it comes to editing, trust your instincts—and don't forget to have fun with it! Avoid the trap of comparing your work to others. Instead, let yourself be inspired by fellow photographers, learn from their journeys, but always stay true to your own creative voice. Your style is uniquely yours, and that's what makes your work so powerful.
As my grandfather always said, "You're never too old to learn something new. They can take everything from you, but they can never take your knowledge." That reminder has stuck with me throughout my photography journey, and it remains as relevant today as ever.
We are incredibly fortunate to be part of an industry that's constantly growing and evolving. There's always a new tool, a fresh perspective, or an exciting technique to explore. The possibilities are truly endless—and how amazing is that?
So keep learning, keep creating, and most of all, keep showing up as your authentic self behind the lens!


Do you have any questions or comments about Arista's Lightroom Workflow Tips? Just leave us a comment below - we would LOVE to hear from you! And PLEASE SHARE this post using the social sharing buttons (we really appreciate it)!


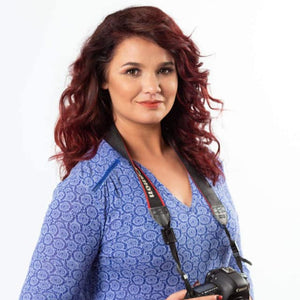
I am a passionate professional photographer based in Richards Bay, South Africa, with over a decade of experience since I embarked on this creative journey in 2010. I find joy in capturing the beauty of life through my lens, and my love for travel fuels my inspiration. While my heart is anchored at home with my wonderful spouse and our four incredible children, I dream of exploring new horizons abroad, seeking fresh perspectives and stories to tell through my photography. Every click of my camera is a step into adventure, and I cherish the moments I get to share with my family and the world! Follow Arista on Facebook!

Comments