- Lightroom Presets
- Mobile Presets
-
Photoshop
-
Learn
-
Support
-
Install
- Best Sellers
- Blog
By Gayle Vehar on | No Comments

Before discussing the best ways to handle RAW+JPEG files in Lightroom, let's go over some RAW+JPEG basics.
All cameras come with the ability to shoot and store a RAW file AND a JPEG file simultaneously. The question is, when and why should you use this feature?
The simple answer—is almost never. Let me explain:
When I first started shooting RAW files, I chose to shoot RAW + JPEG because I was not comfortable shooting only in RAW. So, in essence, the JPEGs were my backup plan.
But it didn't take me very long to realize how much better I was able to process and fix my RAW image files vs. my JPEG versions in Lightroom. And as a new photographer, I was making a lot of mistakes.
The problem was that by shooting RAW+JPEG, I now had twice as many image files being added to and taking up space on my hard drive. It also got pretty darn confusing trying to figure out which version of the files I had actually developed. So I quickly decided to shoot RAW only.
In my opinion, MOST PEOPLE should pick a single file format (RAW or JPEG) and stick with it. However, there are a few instances when you may want to shoot both formats:
If you are just starting out in digital photography, you may feel more comfortable having both RAW and JPEG options at first. I know I did as a beginner. If this is you, go ahead and use both, but be aware of the confusion this may cause, and at some point, you should choose one format or the other and stick with it.

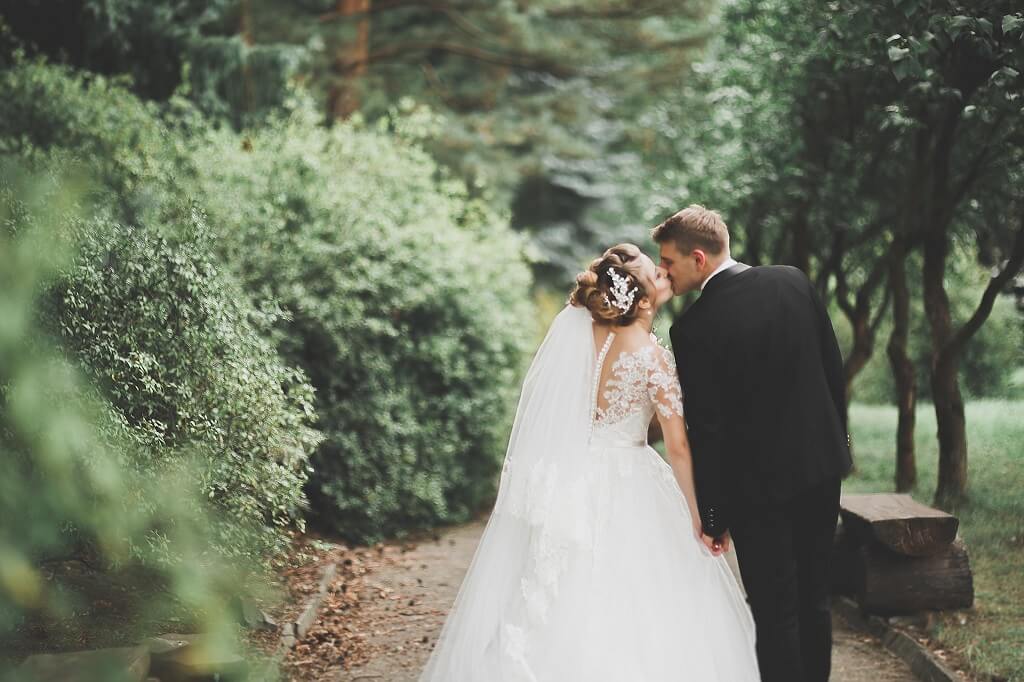
Some wedding photographers like to shoot RAW+JPEG so they can show a client a slideshow of some of their wedding images at the reception and still have the ability to process the RAW file versions for use in albums and prints.
With very little time available to develop photos between a wedding ceremony and the reception, JPEG files are the best-looking and quickest option to make a slideshow happen quickly. So shooting in RAW + JPEG, in this case, makes perfect sense.
There may also be other cases where shooting both RAW and JPEG are warranted, but those situations are few and far between.

If you decide that shooting RAW + JPEG is suitable for you and your situation, just be aware that you will have LOTS of images to deal with. The good news is that Lightroom CAN handle the duplicate files for you.
There are a couple of different options you can use in Lightroom to import and manage your RAW and JPEG files. Try them out to see which one works best for you!
To do this, go to the general Lightroom preferences menu and make sure the box labeled "Treat JPEG files next to RAW files as separate photos" is unchecked. If you don't know where to find this menu, go to Edit>Preferences on a PC or Lightroom>Preferences on a Mac. Make sure the “General” tab is selected.

Unchecking this box will ensure that Lightroom imports ALL of your photos but will only show you the RAW files in Lightroom and will treat the JPEG file as "attached" to the RAW version, so if you move and/or delete the RAW file, you will also move and/or delete the JPEG file.
To choose this option, go to the general Lightroom preferences menu and make sure the box labeled "Treat JPEG files next to RAW files as separate photos" is checked.
By checking this box, you will ensure that Lightroom imports both files AND shows you both RAW and JPEG files in Lightroom. Upon import, both versions will be in the same folder, but I would recommend sorting them into two different folders.
Sorting the files is easy to do using the Filter Bar in the Library Module. To sort out the JPEGs, create a new folder within your folder, select all the JPEGs, and drag them into the new folder.
NOTE: You can change any of the Metadata filter boxes to "File Type" by hovering over the name of the filter box (i.e. "Camera" or "Lens") and watching for the double-arrow to appear. Click on the double-arrow and choose "File Type" from the drop down menu that appears.

Lightroom has a feature that allows you to stack photos together based on capture time. Since both the RAW file and the JPEG file will have been captured simultaneously, it's easy to force them together in a stack.
Both the RAW and the JPEG files will still be in the same folder, just like when you imported them; however, the RAW and its JPEG will now be stacked together. You can choose to see both at any time, and you can also select which photo is placed on the top of the stack.

To do this, go to the Photo drop-down menu and hover over “stacking.” From the new menu, choose “Auto-Stack by Capture Time.” In the box that opens up, make sure the slider is set to 0:00:00.

To choose which file to have on top, go to the Photo drop-down menu and hover over “stacking” again. This will open a list of stacking options to choose from.

Keep in mind that a potential problem can occur with this method if you take MANY photos in quick succession. If you do happen to take more than one photo within the same second (for example: burst shooting), it's possible to end up with more than one RAW and JPEG photo stacked together.
Do you have any questions or comments about Shooting & Managing RAW+JPEG in Lightroom? Leave us a comment below - We would love to hear from you! And PLEASE SHARE this post using the social sharing buttons (We really appreciate it)!


Hi!! I am Gayle. I am a wife to my handsome husband and mom to 4 beautiful kids. In my spare time, I am a photographer and blogger at Mom and Camera. I have a passion for sharing my love of photography with others. I teach local photography classes and regularly share photography tips and tricks on my blog. I hang out there a lot—I’d love you to stop by and visit!

Comments