- Lightroom Presets
- Mobile Presets
-
Photoshop
-
Learn
-
Support
-
Install
- Best Sellers
- Blog
By Anna Gay on | No Comments

Hi everyone, it's Anna for Pretty Actions, and today I'm going to show you how I personally like to use the Patch and Clone Stamp tools together in a couple of different examples where I need to remove parts of my image. Now, I know that there are a lot of ways to clone, heal, and remove unwanted objects, so keep in mind that this is just my own personal method that has always worked really well for me, and hopefully you can take what I'm going to show you and just find a way to make it fit with your own work flow.
So I like to remove objects fairly early on in my editing process because I just find that the evidence that I've removed something blends more seamlessly if I apply my actions and hand edits after I remove the object. So in this example, I made an adjustment to the exposure first to brighten it and that's all I've done. So now I want to remove the hair tie here, and this was the very first shot I took at the shoot as we were getting set up and ready to go, and I forgot to ask her to remove her hair tie. We've all been there, done that.
So what I'm going to do is select my Patch tool here, and if you don't see it at first, you can right click and then select Patch tool. You might have something like your Spot Healing Brush tool selected first. So go ahead and select your Patch tool, and make sure that you are set to Content Aware. This will just give you a more fine-tuned edit of your pixels when you are removing an object.
So I'm going to zoom in really close, and I'm going to just select as close as I can to the hair tie. It doesn't have to be right on the dot, just kind of the general vicinity. And what I'm going to do now is move my selection over on her wrist, and I'm trying to get the sides, just the edges of her wrist lined up as closely as possible. So I'm going to select that, and you can see here that if I'm zoomed out, the hair tie is no longer visible. It's gone. But if I zoom in close, there's still just a little bit of evidence left where I moved the hair tie.
So at this point I like to use my Clone Stamp tool. So I'm right clicking here and selecting Clone Stamp to remove just the little areas that are left here. So I'm going to go in and remove a little bit on her wrist just to kind of blend that line and blend the shadow. And also, I am using a brush with a really diffused soft edge, and it's also a really small brush. To access your brush panel here, you just right click, and then you'll see your brushes. So I'm just going to go in here and clone little by little just so that all of the color values and skin tones match up.
All right, so at this point it's looking pretty good, and what I'm going to do is just go back to my Patch tool one more time here and remove this really bright highlighted area here, and that should finish it off. So as you can see, I did kind of a combination of the Patch tool and the Clone Stamp tool. I've never been one to only use just one or the other. I like to use them both in combination.


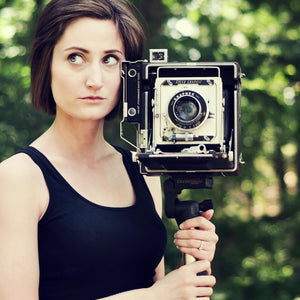
Anna Gay is a portrait photographer based in Athens, GA and the author of the dPS ebook The Art of Self-Portraiture. She also designs actions and textures for Photoshop. When she is not shooting or writing, she enjoys spending time with her husband, and their two cats, Elphie and Fat Cat.

Comments