- Lightroom Presets
- Mobile Presets
-
Photoshop
-
Learn
-
Support
-
Install
- Best Sellers
- Blog
By Rebecca Cook on | No Comments

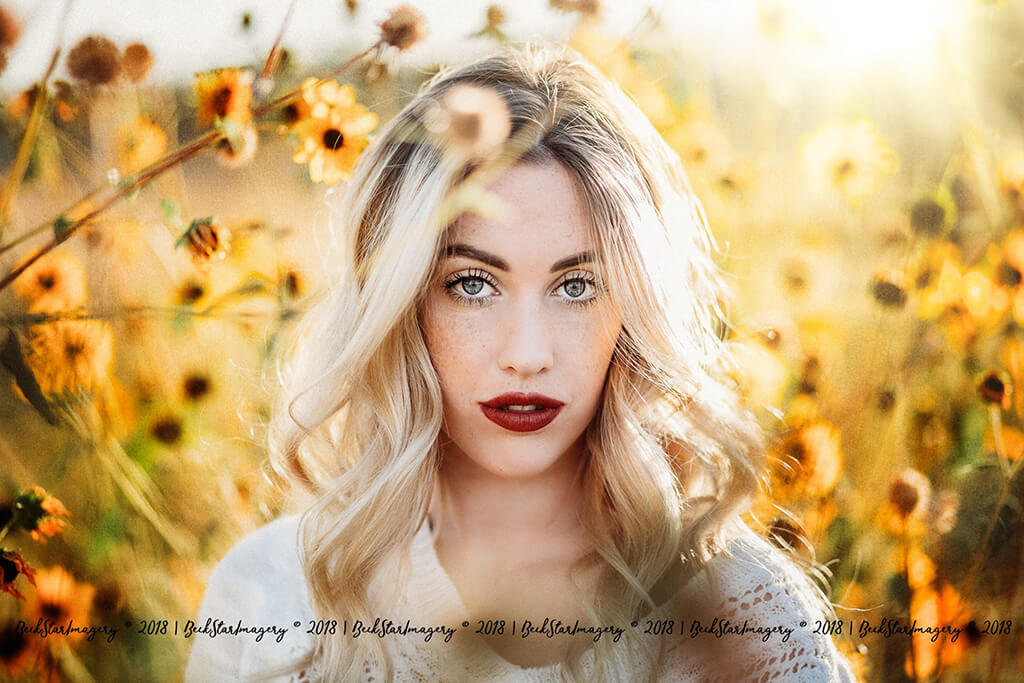
Image above edited with South Beach from the Light and Airy Millennium Collection.
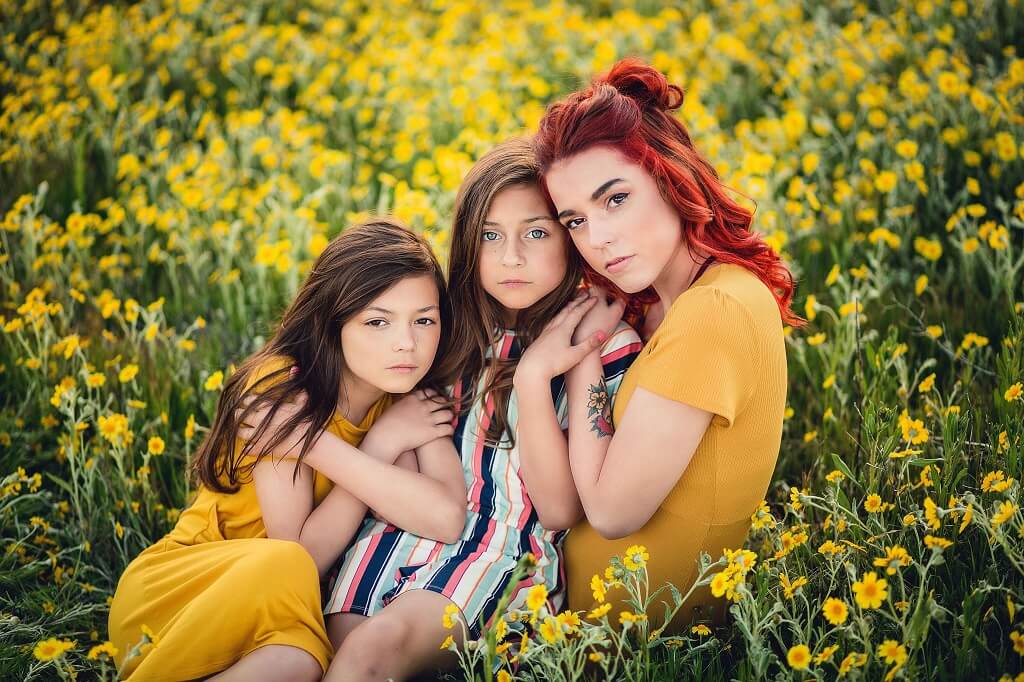
“How did you get all of your subjects in focus? How did you get all of your subjects in that image so sharp?”
These are the most common questions I get asked! I’m here to share with you my shooting secret and how it’s possible to get a group of five individuals in complete focus, shooting at an f/stop of 1.8! Yes, you read that correctly - a 1.8 f/stop!
All you need to do is read this tutorial - then get out there and start practicing. And I promise you’re going to want to start practicing as soon as you’re done reading about this unique little trick I use while photographing my clients during ALL photoshoots!
I know you’re wondering what is Live View and what does it DO?
Live View is a feature found on most DSLR cameras which allows you to see the subjects on the back screen of your camera rather than having to look through your viewfinder. More importantly it also allows you to get a real time preview of the focus and exposure before you take the shot. Shooting in Live View is actually NOT difficult. It does require some practice since you will have to shoot using manual focus while live view is enabled. And make sure you bring your f/stop to it’s widest aperture setting possible.

Image above edited with Innocence preset from the Light & Airy Millennium Preset Collection and a sky overlay from the Painted Sky Overlay Collection.
In order to shoot an f-stop of f/1.8 (my favorite), you'll need a fixed focal length lens. Some great options to start with are the 50mm f/1.4 and the 85mm f/1.8.
You will find a button on the back of your camera that looks like a little mini camera with a black square in the middle of it.
This is the easiest way to see if you are under or overexposing an image, and it’s an easier way to adjust how much light you want to let into your camera by adjusting your shutter speed and bringing it to the lighting exposure that suits your style.
These are not adjustments that can be seen while looking through your viewfinder - which makes photographing in Live View perfect for achieving tack-sharp focus and good exposure.

Image above edited with Peacock + Creamy Center Light from the Enchanted Garden Collection and Pure Color Workflow for Photoshop.
Before you start shooting in Live View, it’s important to know the most effective way to properly master this technique. You will need to switch over to your manual settings, and switch your autofocus to manual focus. If you do not shoot in manual settings already, I highly suggest you start using it.
I prefer to shoot in manual focus because it allows me to get the desired sharpness that I am looking for. I find that shooting with a camera's autofocus mode leaves room for error and often focuses on the wrong areas.
Shooting in Live View will allow you to zoom into an area of the image and then manually focus on that subject or area with a much greater success of getting a sharp and crisp clear image.
After you enable live view, you will see an obvious square/rectangular box on your screen - that will be your focal point. You will be able to move that square around, and you will also be able to zoom in for PERFECT focus!
For family portrait sessions, I find my desired spot (preferably the middle section of my subjects' heads/faces), then zoom in and manually focus on that spot, and BAM! Beautiful, tack-sharp focus!
Sometimes you might find it a little difficult to get all of your subjects in focus, but the fix is simple! Just physically take a few steps back and it will be easier to get all your subjects into focus. If you want a tighter crop, you can easily do that later in Lightroom or Photoshop.

Image above edited with Serendipity preset from the Bohemian Film Preset Collection.
The best way to achieve shooting at a wide open aperture of f/1.8 is to make sure your subjects are relatively close together and all lined up next to each other on the same plane. This will give you the best chance for sharpness and high-quality images.

Image above edited with Innocence preset from the Light & Airy Millennium Preset Collection.
Shooting in live view will completely change the way you shoot. You will find that after some trial and error, it will get easier and you will become much more efficient with your manual focus! You will start to notice crisper, more sharp images. Play with it, have a little fun! Practice on your kids, animals, family and friends.
This technique take practice to perfect. Don't give up after a week. Like everything in life you have to expect a little frustration when learning something new. You will not get EVERY single image in complete focus (what can I say kids like to randomly move). But with time, and a little bit of patience, I promise you’ll never turn back!
(Additional Tip: You may want to Google "enabling live view for your particular DSLR model" so you can make sure you are doing properly for your specific camera. However, shooting in Live View is generally pretty universal when it actually comes to the technique.)

Image above edited with Marrakesh II from the Bohemian Film Preset Collection.
If you want to know more about Rebecca's photography, you can read more in our photograher's spotlight interview here.
Do you have any questions or comments about taking photos in Live View? Leave us a comment below - we would love to hear from you! And PLEASE SHARE our tutorial using the social sharing buttons (we really appreciate it)!


My name is Rebecca and I live in a small southern California town with my two beautiful children and the man of my dreams. I've been a photographer for a long time but professionally for 7 years and I love every minute of it.
I live to capture treasured moments for others and live by my motto: Embrace Love. Live Life. Dream Big. I love fitness and being outdoors and camping—especially with my dogs, kittens and families. I love pizza, and can't live without coffee.

Comments