- Lightroom Presets
- Mobile Presets
-
Photoshop
-
Learn
-
Support
-
Install
- Best Sellers
- Blog
By Gayle Vehar on | No Comments

We love saving you time! This has been our primary goal at Pretty Presets since we started in 2010! Today's post will help you do just that - SAVE TIME!
We have put together our 25+ essential Lightroom shortcuts that are the most important ones you need to know to save the most time editing and working in Lightroom.
You can quickly get to the Library Module by tapping "G" on your keyboard. The Library module is where you will organize your images and see your photos in grid and filmstrip style.
When you are in the Library Module, if you want to see just one image by itself in the main image window (similar to the Develop Module), press "E" to change to the Loupe View.
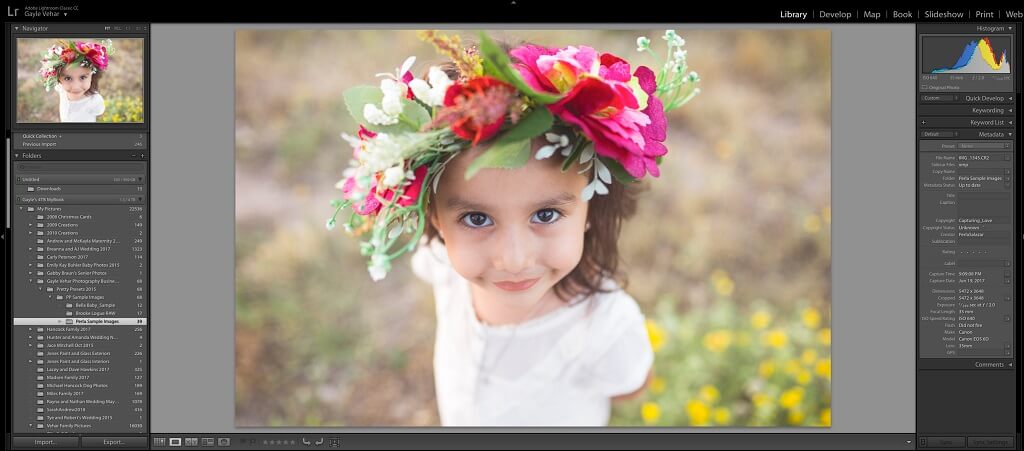
Click on the "\" (backslash) key to show or hide the Filter Bar in the Lightroom Library Module. The Filter Bar is located at the top of your grid of images. This tool will allow you to sort or search for images based on your chosen criteria.
You can sort by rating, color, metadata (think lens type, camera body, aperture, shutter speed, iso, date, etc.), and even text. I use this filter tool ALL THE TIME when looking for a specific older image.

One way to pick favorites and organize photos when going through a session is to give them star ratings. You can rate your images on a scale of 1 to 5. Pressing the "1" key will rate the image with one star. The other numbers work the same way ("2" for two stars, "3" for three stars, etc). You can then use the filters in any Lightroom module to show only the images you rated with a particular numeric value.
This is another Lightroom shortcut to pick favorites when sorting through your photos. Tapping the "P" key will "Pick" or flag an image. You can then use the filter bar in any Lightroom module to show only the flagged photos.

If your photo is not useable, you can tap the "X" key to reject the image. Then you can use the filter bar in any of the Lightroom modules to show only the photos you rejected - making it quick and easy to delete all of your rejected images.
Tap the "T" key to show or hide the toolbar below the image area in any Lightroom module.
To quickly zoom to 100% on an image, tap the "Z" key. This is a super easy shortcut to quickly check a photo's sharpness when culling images from a session. Just tap the "Z" key again to zoom out and fit the image back in the window when you are done.

This is an alternate way to zoom in using Lightroom. Pressing "CTRL and +" (PC) or "CMD and +" (Mac) will incrementally zoom in instead of zooming in 100% with a single click. I use this method when applying brushes over smaller areas of my image. Sometimes 100% is too much, and I just want to zoom in a smaller amount.
Whenever I am zooming in incrementally, I also generally want to zoom out incrementally. Pressing "CTRL and -" (PC) or "CMD and -" (Mac) allows you to do just that. I use these two shortcuts, "+" and "-" together!
Sometimes your image comes out of the camera in a different orientation than intended. Press CTRL and "[" (PC) or CMD and "[" (Mac) to rotate the image to the left. You can press again to continue rotating your image to the desired orientation.
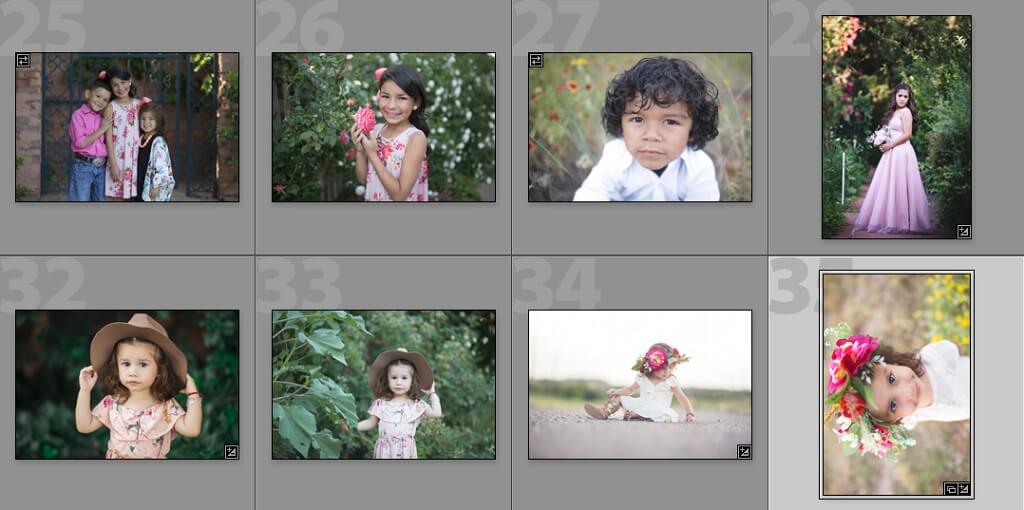
Pressing CTRL and "]" (PC) or CMD and "]" (Mac) will also rotate your image, but this time to the right. Keep pressing until it rotates to its proper orientation.
Tapping CTRL and "E" (PC) or CMD and "E" (Mac) to quickly move an image to Photoshop, where you can apply actions and/or overlays for further enhancement.
When you are done in Photoshop, press CTRL and "S" (PC) or CMD and "S" (Mac) to save your image, and it will now show up in Lightroom with your actions and overlays applied.
Sometimes you will want to view your image without the distraction of the side panels. Tap the "TAB" key to instantly expand your main image window and remove the side panels. Tap the "TAB" key again to bring them back.
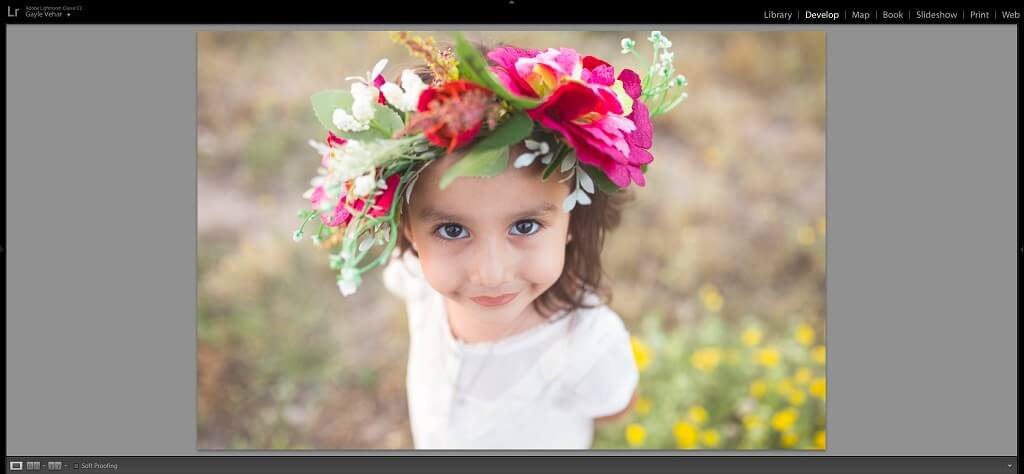
Press CTRL and "Z" (PC) or CMD and "Z" (Mac) to UNDO whatever you just did in Lightroom. This shortcut will undo the last step, whether you just applied a rating, preset, brush, crop, etc.
Tap the "D" key to navigate to the Develop Module from any other module in Lightroom.
Tap the "Y" key to show a before/after side-by-side comparison of the image you are editing in the main image area of Lightroom. Tap the "Y" key again to exit the before/after mode.

Another way to view the image before all your edits were applied is to use the "\" (backslash) key "while you are in the Develop Module." Tapping "\" will instantly give you a view of your straight out of camera image. Tap the "\" key again to return to the edited version.
One of the most used tools in the Develop Module is the Adjustment Brush tool. Tap "K" to open up the Adjustment Brush. Tap "K" again to close the brush tool.

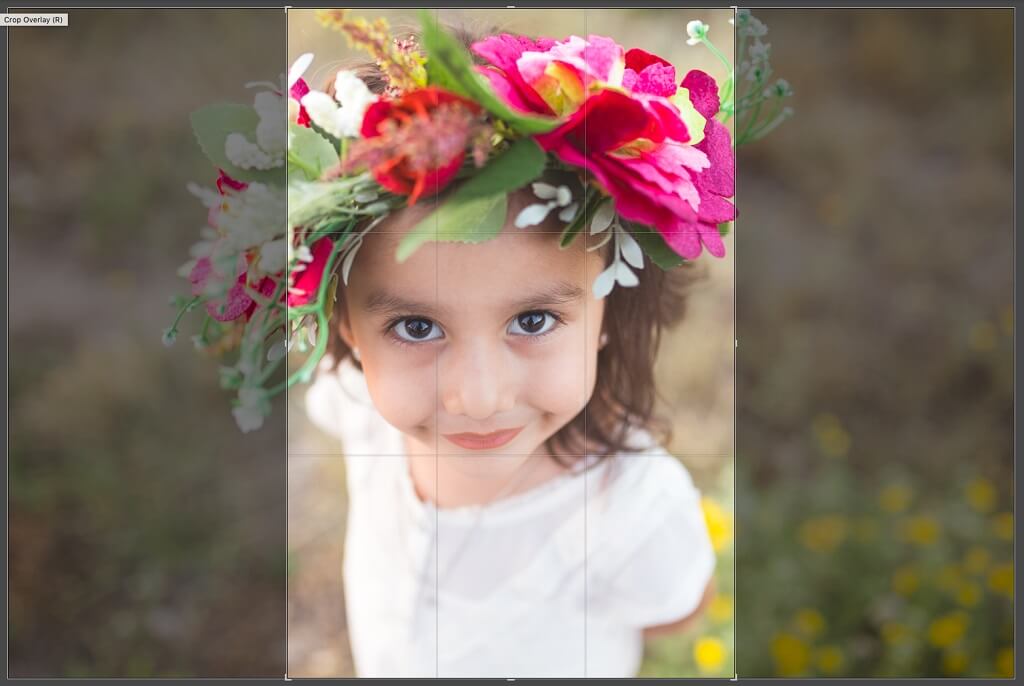
Applying a crop to images is another common compositional technique. Tap the "R" key to open the Crop Tool. Tap "R" again to close it.
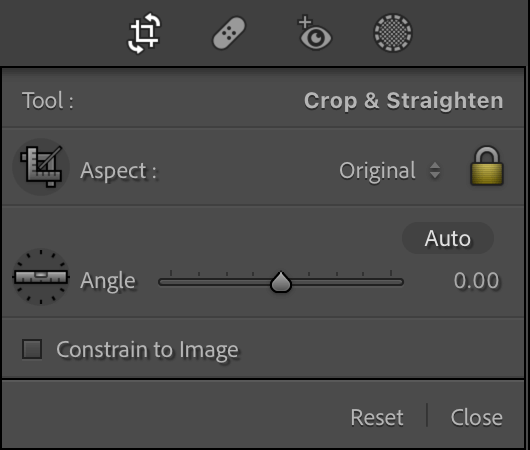
Tap the "M" key to open the Linear Gradient Tool (formerly called graduated filter). Tap the "M" key again to close it.
Since the Radial Gradient and the Linear Gradient tool are closely related, their shortcuts are similar, too! To open the Radial Gradient Tool (formerly called radial filter), press the Shift and "M" keys. Press Shift and "M" again to close it.

Another frequently used tool is the Spot Removal tool. I use it quite often when editing skin. Tapping the "Q" key will open the spot removal tool, and tapping it again will close it.

Use the "L" shortcut key to darken or even blackout the entire background around your photo. Tapping the "L" key ONCE will darken the background. Tapping "L" A SECOND TIME will change the background to complete black. Tapping "L" A THIRD TIME will turn the "lights" back on!
Lightroom creates little "pins" each time you make adjustments using the brush, linear gradient, radial gradient, or spot removal tools. Sometimes these "pins" get in the way when there are multiple adjustments using the same tool.
If you have this issue, tap the "H" key to hide all of the pins from the Lightroom tools that use them. Just tap the "H" key again to bring the pins back.

This shortcut is super helpful when using the Adjustment Brush or the Spot Removal tools. Use the "[" (left bracket key) to decrease the size of your brush and the "]" (right bracket key) to increase the size.
If you want to see a red overlay over the parts of your photo where you have applied a brush or filter, just tap the "O" key.
I find this super helpful when I need to erase part of a brush or mask or even when I just want to see where it has been applied. While this overlay is super handy, I don't like seeing it all the time. So when I am done, I tap the "O" key again to make the overlay disappear.

When using brushes on your image, there will be times when you will end up brushing over areas where you did NOT want to brush. Instead of deleting the pin and starting over, just press and hold the "Alt" key (PC) or "Option" key (Mac) while you are brushing, and your brush will instantly turn into an eraser so you can erase any brush works from areas that you did not want to be brushed.
Extra Tip: You will know the eraser tool is active when the + (plus) that is usually in the center of the brush turns into a - (minus) sign! NOTE: This also works with the brush tool inside the filter tools!
Yes, we have already shown you an "X" shortcut. THIS particular "X" shortcut works only when you have the Crop Tool selected. If you want to change the crop orientation in Lightroom, just tap the "X" key, and your horizontal crop will become a vertical crop!
This cheat sheet will help you remember these essential Lightroom Shortcuts. Feel free to print it out or share it on your website (instructions below)!
We hope you find these Lightroom Keyboard Shortcuts as helpful as they are to us! Even if you don't use all of them, start by picking a few that you think will help you save time, based on how you edit in Lightroom!
Do you have any questions or comments about these Lightroom Shortcuts? We would love to know which of these tips have helped you! Leave us a comment below - we would LOVE to hear from you! And PLEASE SHARE this post using the social sharing buttons (we really appreciate it)




Hi!! I am Gayle. I am a wife to my handsome husband and mom to 4 beautiful kids. In my spare time, I am a photographer and blogger at Mom and Camera. I have a passion for sharing my love of photography with others. I teach local photography classes and regularly share photography tips and tricks on my blog. I hang out there a lot—I’d love you to stop by and visit!

Comments