- Lightroom Presets
- Mobile Presets
-
Photoshop
-
Learn
-
Support
-
Install
- Best Sellers
- Blog
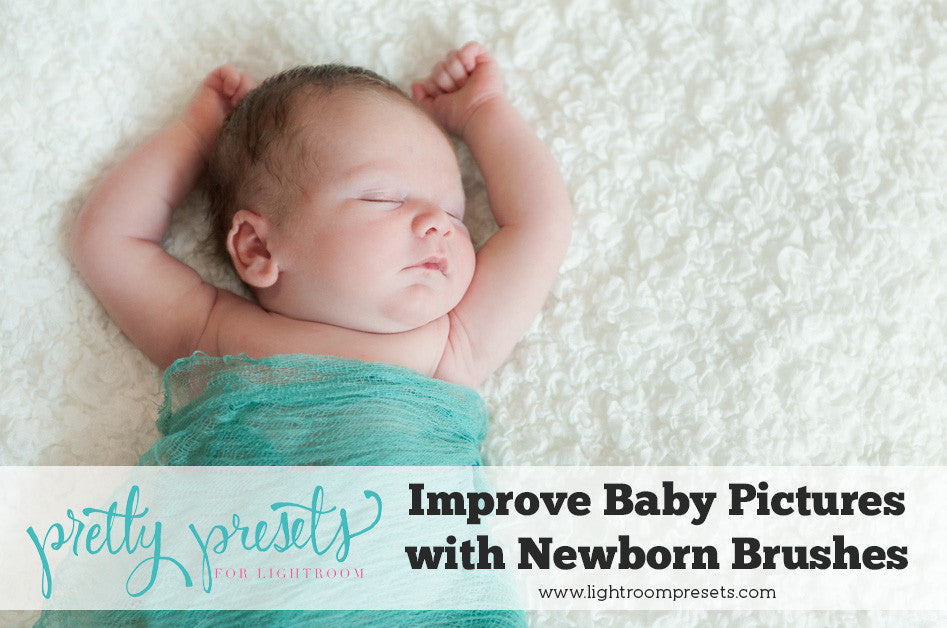
Recently I had the privilege of photographing my grand-nephew (I prefer saying it that way over "great-nephew" because it makes me feel too old), and editing the images were a cinch with the help of the Bella Baby Complete Newborn Workflow Collection (which includes newborn presets AND brushes - everything you need to edit newborns in Lightroom).
The image I am working on below had a problem I usually try to avoid if possible - fabric imprint! Usually, those are a real pain to fix, and honestly sometimes impossible to fix (one time I showed up and the baby was in a waffle weave sleeper - those first images were abandoned because I couldn't get the weave out of the skin).
Thankfully, with the use of the Newborn Brushes from the Bella Baby Newborn Collection, I was able to get the problem minimized enough where it was not even noticable.
As for the blanket not being wrapped correctly, I had to pick my battles. This was the first time in six months I had shot a single image (I had a serious accident in December) and the first time in 20 months since I had photographed a newborn. I was exhausted by that point and was really in zombie mode.
If you think my nephew looks a bit old for newborn shots, he was. He was in the NICU for his first three weeks of life. These photos were taken five days after he got out of the NICU. Thankfully he was a great sleeper for me, but he liked to be stretched out (as you can see in this image).

The first thing I did was go to the Lens Correction panel and turn on the 'Enable Profile Correction,' to get rid of the vignetting the lens caused. I also cloned a bare spot in the blanket.
The next step was to balance the light on one side of the image with a graduated filter. Just recently I wrote about how much I love graduated filters for the natural way it applies directional light, and it was perfect for this image as well.
Once I had the lighting worked out, I opened up the brush menu and started working on those small, local areas that are perfect for Lightroom brushes. The second image below shows all the brush 'pins,' which are the little gray circles. The brush pins show where I started brushing with each newborn brush. The brushes I used were:

The second image below shows all the brush 'pins,' which are the little gray circles. The brush pins show where I started brushing with each newborn brush.

I say this over and over, but I can't stress it enough - let your subjects be "real," meaning, do not make them so perfect that the editing is no longer realistic. As you can see in the image below, the "after" image is much improved, without looking like it has had major post-processing done to it.

If you are new to Lightroom and you're unsure how to use brushes, below is a quick video of me editing this image.
Do you have any questions or comments about using Lightroom Brushes to Edit Newborn Images? Just leave us a comment below - we would LOVE to hear from you! And PLEASE SHARE this post using the social sharing buttons (we really appreciate it)!


Comments