-
Lightroom Presets
- Mobile Presets
-
Photoshop
-
Learn
-
Support
-
Install
- Best Sellers
- Blog
By Laurie Yuenger on | No Comments
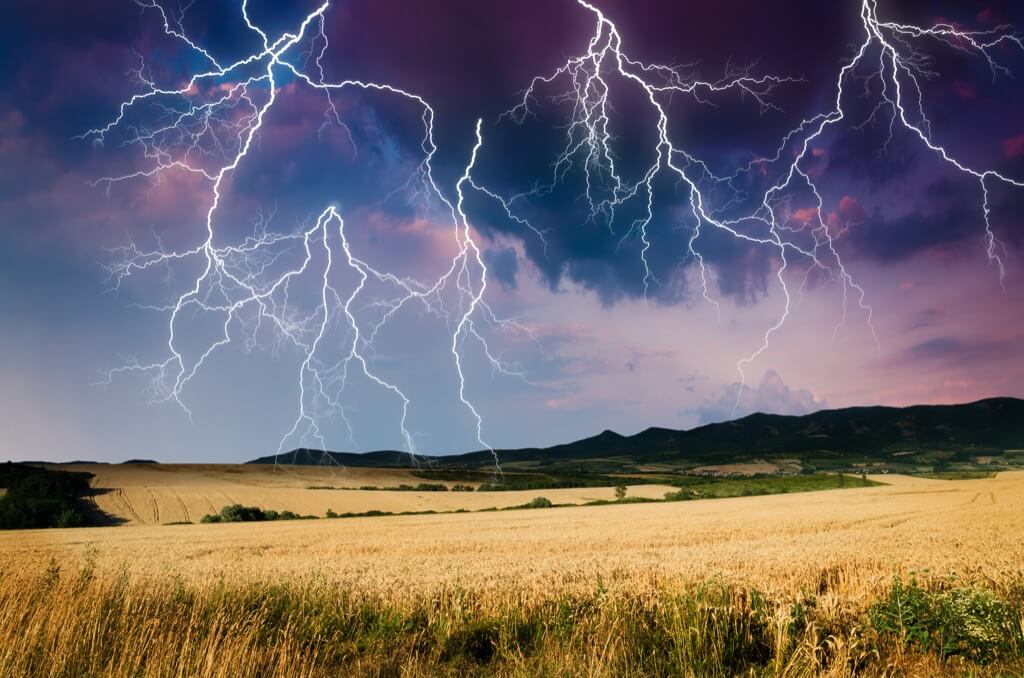
I love taking photos of lightning - it is just so powerful and amazing to see! You may think capturing it in camera can be difficult, but I'm here to show you that photographing lightning can be fun and easy. Just follow these tips:
Make sure you are VERY aware of the weather and your surroundings. Lightning is dangerous and it’s not worth killing yourself for ANY photograph. Keep in mind lightning can strike even without rain. This is one of the reasons I use a remote trigger – it means I can set up my camera and then back into a protected area.
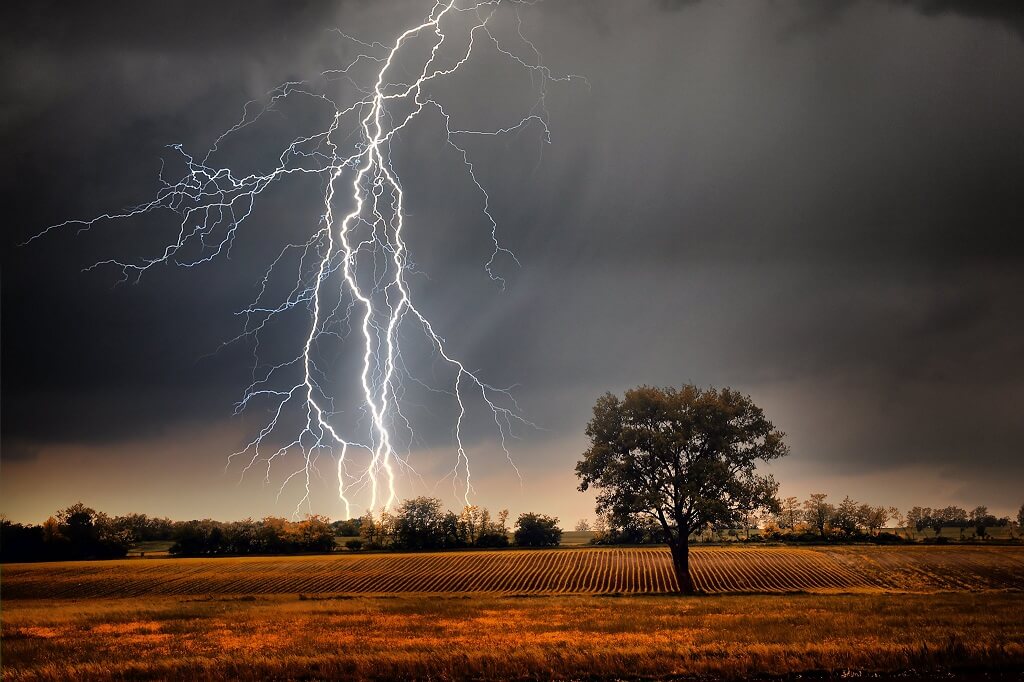
Camera: While you don’t need an expensive camera, having a camera that allows you to shoot in manual is ideal. I prefer using a digital camera for lighting photography because I take A LOT of shots and I don’t want to waste film.
Tripod: Having a tripod is pretty much a must. You need to be able to secure your camera to a tripod to prevent camera shake during your long exposures.
Remote trigger: A remote trigger is not necessary but very helpful. When you press the shutter button with your hand, it can causes vibrations that result in a blurry photo. A remote shutter release will prevent this from happening and also allow you to shoot from a protected area too.
Rain cover/protection for your camera: While I typically only photograph lightning from a distance, before a storm reaches me, there is often a bit of rain that starts coming down before I can complete my shoot. You will need some kind of cover to protect your camera from this rain. One trick I use is to back my minivan up to the location and open the trunk, using the popped open trunk as cover for my camera.
Lens cloth: Make sure to bring a lens cloth to clean off any raindrops!
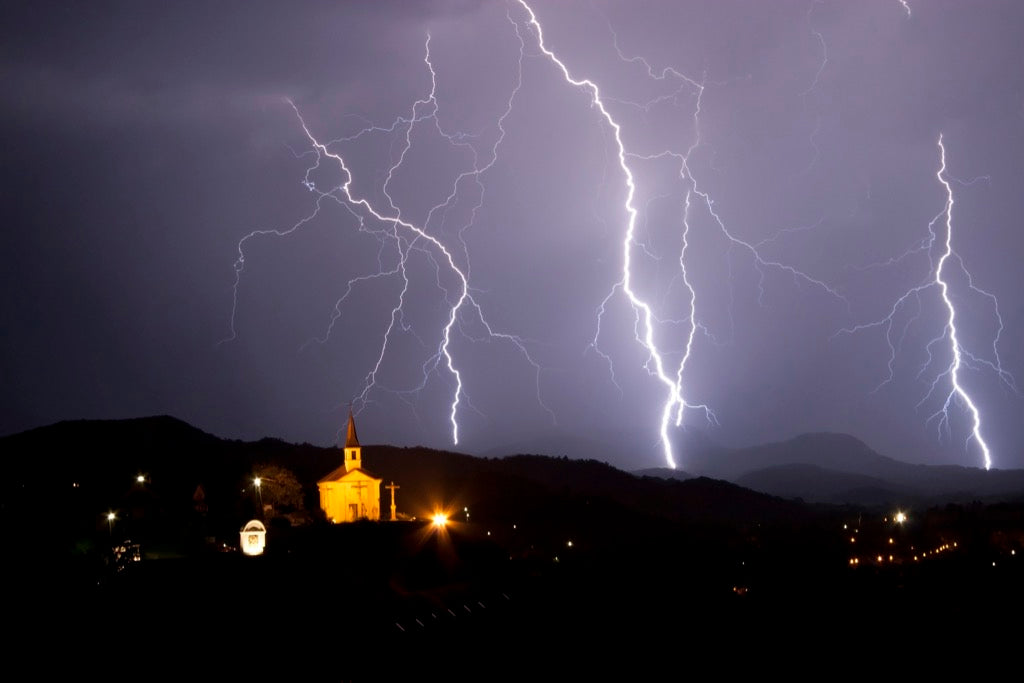
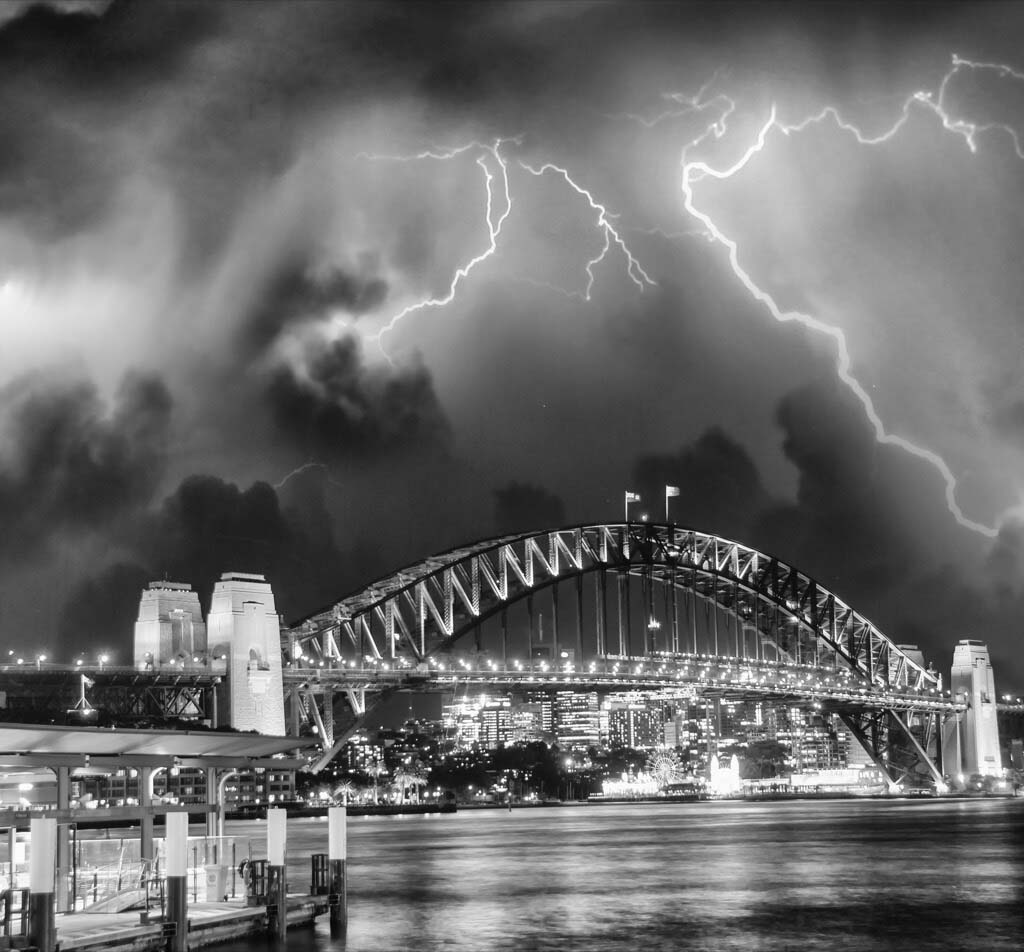
Lightning by itself can make for some breathtaking photos – but consider adding some foreground interest as well. While I’ve photographed lightning from home (through windows and from my garage), I often look for interesting areas to shoot from as I drive around in normal weather and return when there's a storm.
Interesting foreground elements can help to tell a story, or show the size and power of the lightning and can increase the dramatic feel to your image.
Some foreground elements I look for include churches because of the symbolism (the power of God) and power lines (the raw power of the lightning vs the man made power). Trees in fields, city skylines, barns, water (such as lakes) or even a row of houses can also make for great elements to add to your lightning photographs. Do some exploring and be creative!

Not all storms are the same, especially when it comes to lightning. Some storms have very sporadic lightning. In that situation it’s still possible to get some great lightning shots, but it will take more patience, or at least more luck.
I have found that photographing night time storms to be the easiest when trying to capture lightning. You can use a longer shutter speed, and finding the balance of light between your two subjects (ambient daylight and the lightning) is easier at night too.
Other storms have lightning that rolls around within the clouds (often referred to as sheet lightning or heat lightning). In my experience these storms do not usually photograph very well.
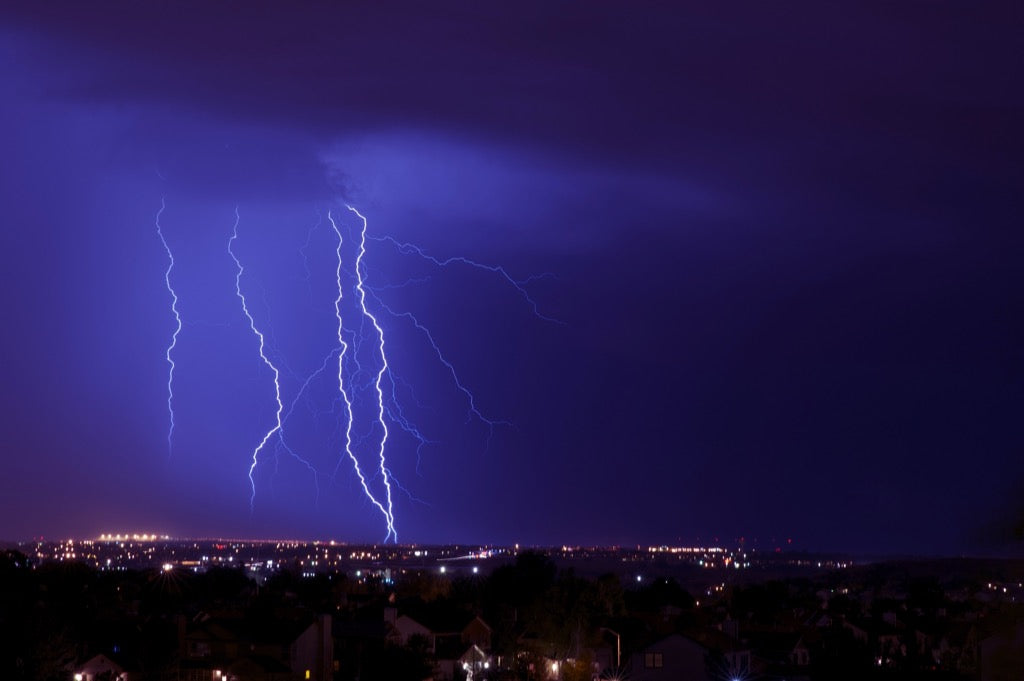
Capturing those brief flashes of lightning is NOT about having a super fast trigger finger. Lightning flashes so fast that even hitting a trigger at the first hint of the lightning will likely result in missing it all together, or only capturing the main bolt without the branches.
Here is what you need to do to take a great lightning photo:
1. Set up the camera on your tripod, with your remote trigger (if you have one).
2. Camera settings: while I can’t give you the perfect exposure settings for every situation (as with all photography), however here are some basic exposure guidelines:
3. Set the focus to your desired point. If you are JUST photographing lightning then set your focus to infinity. For scenes with buildings/landscapes, set your focus on the subject in the frame (and try to use composition to add more strength to your image). Now switch the focus mode to manual, and be careful not to accidentily bump the lens!
A wide angle lens will give you the best chance of capturing a lightning strike (or even more than one) each time. You can also try zooming in (or using a longer lens) to capture lightning up close, showing more detail.
For extra sharp images, its a good idea to use your camera’s mirror lock up feature (to prevent camera shake from the mirror flipping up to reveal the shutter). If the storm is windy, consider adding extra weight (such as a sandbag) to your tripod to keep it steadier.
There you go! Just follow these tips to capture some incredible lighting photos! Most importantly, make sure to stay safe and HAVE FUN!!
Do you have any questions or comments about How to Photograph Lightning? Leave us a comment below - we would LOVE to hear from you! And PLEASE SHARE this post using the social sharing buttons (we really appreciate it)!


While Laurie grew up in California (where she received her first lessons in photography from her father) she has enjoyed her adult life traveling around the US and the UK as a military wife. A tomboy at heart she is usually sporting a ponytail and jeans. She has been a professional photographer for over 7 years, photographing children, families and weddings, but her love is the challenge of photographing babies and toddlers. She also enjoys photographing the local landscapes as they travel, as well as natures fine details (macro). Her family is currently stationed at Scott AFB Illinois where she has a studio called Pixel This in nearby Swansea. Laurie is also the creator of “Dear XYZ“, a customer relations book specifically for photographers. You can visit Laurie at her WEBSITE | FACEBOOK pages.

Comments