- Lightroom Presets
- Mobile Presets
-
Photoshop
-
Learn
-
Support
-
Install
- Best Sellers
- Blog
By Gayle Vehar on | No Comments

Instagram is one of the most important and popular places to share and interact with images! So, of course we all want our Instagram page to look it's very best!
One of the best tools to help you do this is Lightroom - a fantastic software program that is easy to use for editing all images you share and promote online. And Lightroom Presets, which are filters you can use in Lightroom, are the perfect way to speed up your editing time and help you create a beautiful and cohesive Instagram profile quickly and easily!
An essential part of any photographer's social media presence are beautiful photos. Images posted on Instagram should be eye-catching in these photo-saturated times we live in, and post-processing is one of the best ways to help YOUR photos stand out from the crowd.
Adobe Lightroom is one of the most popular post-processing software programs and provides one of the fullest packages of editing tools available. Even better, Lightroom now has a free Mobile App that allows you to edit on your mobile phone using professional quality software.
Lightroom presets are editing filters that are specific to Lightroom. These simple to use, one-click editing tools will simplify your editing process and will help give your images a cohesive look that will result in a high-end, curated Instagram feed.
Other adjustments may need to be made before or after using a Lightroom preset, depending on the exposure and the lighting conditions present when you took the photo (I will cover this below).
Let's go over the 3 Steps for Editing Instagram Photos in Lightroom Mobile below:
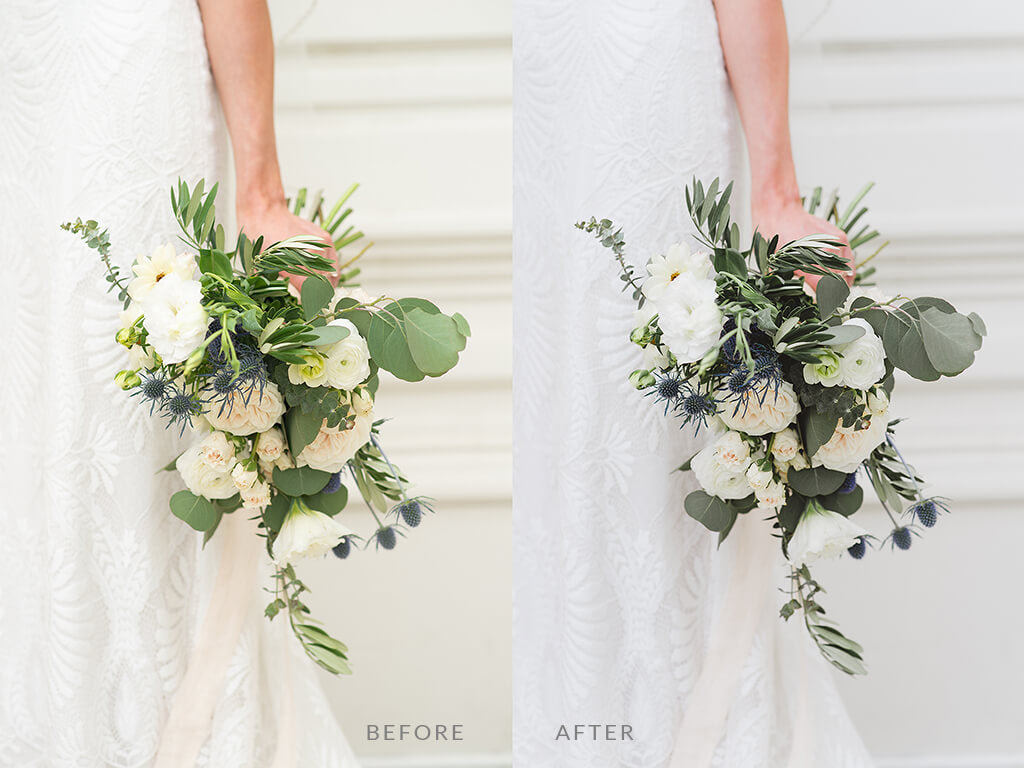
Editing your images for Instagram using Lightroom's free Lightroom Mobile App is simple. First, you will want to purchase and install your presets.
Pretty Presets has three of the MOST POPULAR Lightroom Mobile Preset Collections:
All three collections are VERY popular with Instagram users and fit many current styles!
The easiest way to download and install presets is to download and unzip them on your computer, upload them to Dropbox or Box (a cloud service you can access from your phone), and then install them to Lightroom Mobile.
Downloading and unzipping your purchased presets isn't something your phone is super good at. There are ways of doing this, and we have outlined the steps on our Mobile Preset Install page and guide.
For the best results, we recommend downloading to your computer and unzipping the files there first. After unzipping, you should have a folder of DNG files. These DNG files are the ones that will work on the free Lightroom Mobile App.
Once you have the files downloaded and unzipped on your computer, upload them to your favorite cloud service that you can access from your phone. Our personal favorite is Dropbox because it is easy to access and use on a mobile phone; however, most cloud services should work.
Next, open the Lightroom Mobile App on your phone and follow these steps:
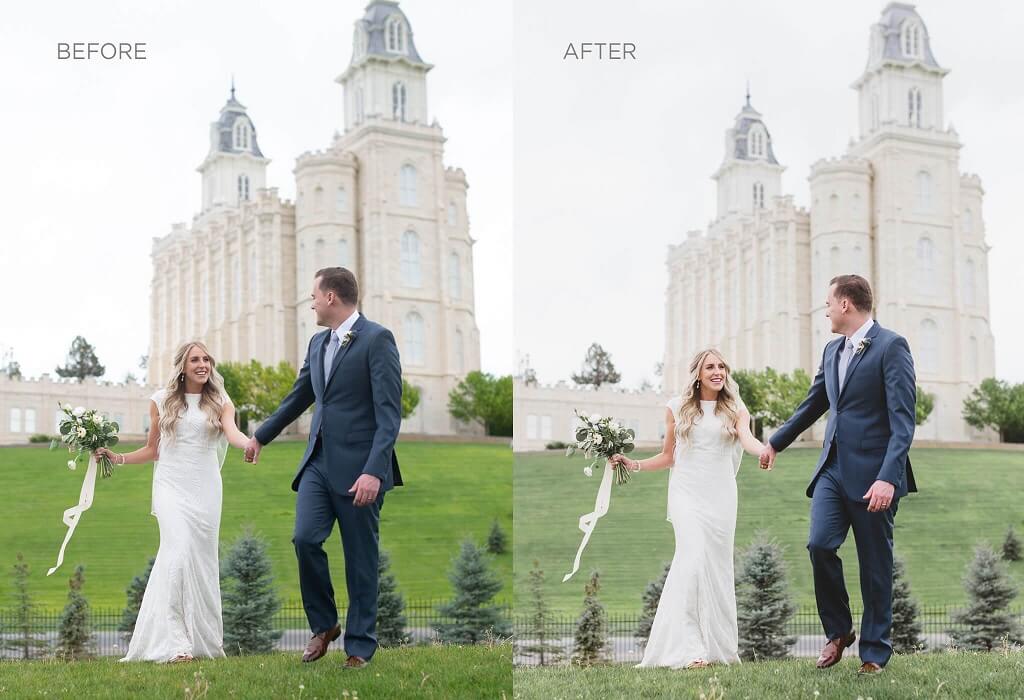
Editing basics are the things that a Lightroom preset can't account for. For example, a Lightroom preset can't account for every exposure or lighting situation. For example:
A Lightroom preset can't correct these issues, but you can easily take care of this by adjusting the exposure and white balance in Lightroom.
To find the Exposure slider, select your photo and then tap on the Light icon below the image.
To adjust the white balance, tap on the Color icon. This will give you access to the Temp and Tint sliders.
The Temp slider will adjust how warm or cool your image is:
The Tint slider works similarly:
The color that will increase in your image will be shown on the slider.
If you are struggling with seeing the color issues in your image (and most beginners DO struggle with this), tap the little eye dropper at the top right of the White Balance options and move the circle over a neutral white or a gray area. This should help you get the white balance closer to how it looked in real life.
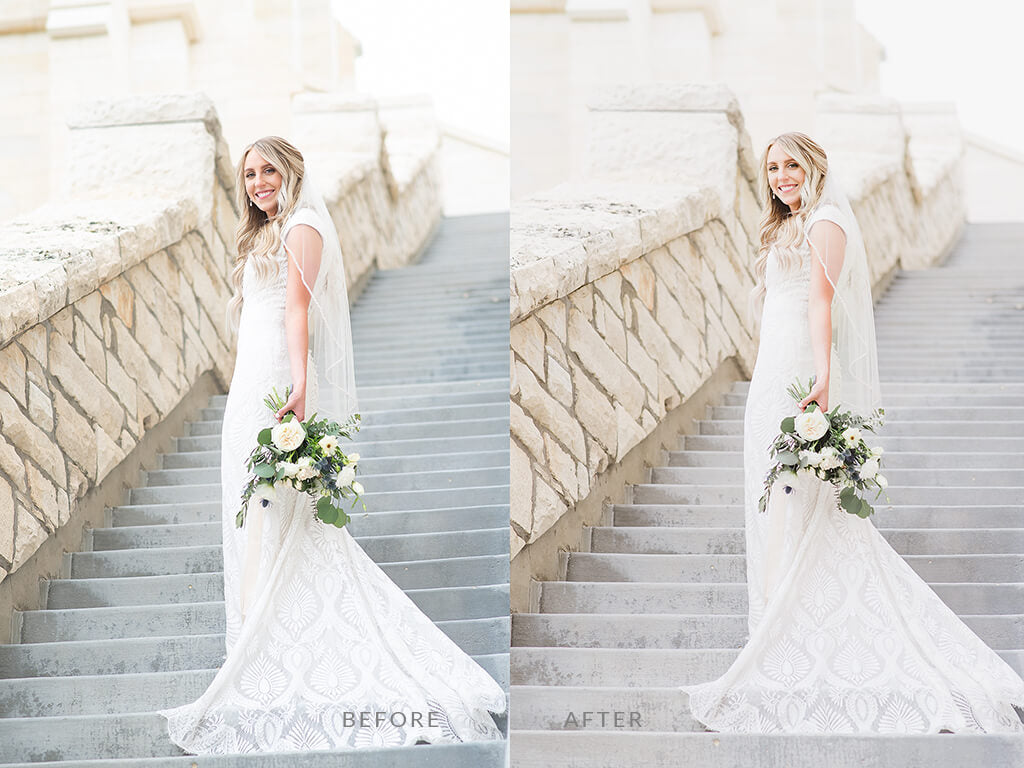
To apply a Lightroom preset, scroll your icons to the left and tap the Presets icon. This is where you will find all the presets you have installed. Scroll through to find the one that you like the best. A small preview of what your image will look like with the preset added will appear next to the preset name.
Just tap the image or preset name to apply the preset. You can tap as many as you want until you find the preset you like. Mobile presets will generally NOT layer on top of each other. Instead, the new preset will cancel out the adjustments made by the previously selected preset.
When you find the preset you like best, tap the "check mark" on the bottom-right of the preset panel to finalize your choice. And just like that, you have a finished photo!
If you need to make some additional adjustments to the editing basics you previously made, tap on those icons again to make changes.
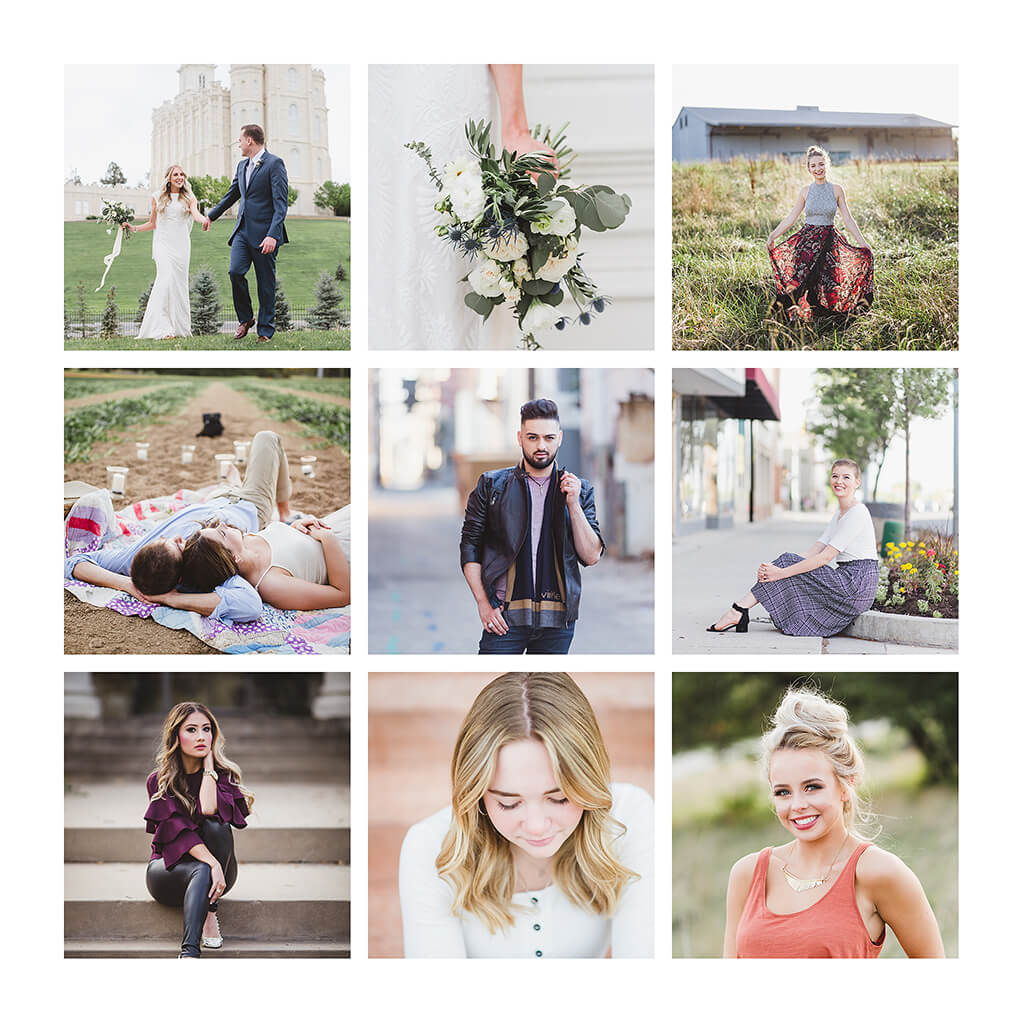
The creative possibilities are endless when using Lightroom as your mobile editing tool for Instagram photos. Using professional quality Lightroom Presets will help you create those beautiful photos that will stand out from the crowd and help get your images noticed on Instagram's image-saturated platform.
And don't we all want our photos to look their very best, maintain a cohesive aesthetic and help convert those Instagram visitors to followers?
Do you have any questions or comments about Editing Instagram Photos in Lightroom? Leave us a comment below - we would LOVE to hear from you. And PLEASE SHARE our tutorial using the social sharing buttons (we really appreciate it)!



Hi!! I am Gayle. I am a wife to my handsome husband and mom to 4 beautiful kids. In my spare time, I am a photographer and blogger at Mom and Camera. I have a passion for sharing my love of photography with others. I teach local photography classes and regularly share photography tips and tricks on my blog. I hang out there a lot—I’d love you to stop by and visit!

Comments