- Lightroom Presets
- Mobile Presets
-
Photoshop
-
Learn
-
Support
-
Install
- Best Sellers
- Blog
By Anna Gay on | No Comments

Several months ago, I wrote a post about the benefits of shooting film. As much as I love shooting real film, one of the major drawbacks in addition to the cost is the increasing rarity of professional labs that have the ability to develop film.
I didn't want to give up on shooting film, so I decided the best option for me was to learn how to develop my film at home. Besides the lower cost, I was able to achieve much better results than most labs provide. Mission accomplished!
I was so excited with my results, I wanted to put together this post to show you how easy, inexpensive (and extremely fun!) developing film really is!
Let me start off by telling you - you do not need a darkroom, and you do not need a bunch of expensive equipment. For years, I was under the impression that developing film was an expensive, complicated process, akin to rocket science. Not so! Developing film is ridiculously easy, and a rewarding experiment that will help you become an even better photographer.
Like I said, developing your film at home is so much easier than you realize. If you can cook an easy dinner, you can develop film! For this post, we will work exclusively with developing 35mm black and white film. Color film is a more complicated process, so let's start with with classic, beautiful, black and white film developing!

First, let’s talk about what supplies you will need:
Household Items
Developing Supplies
Before we go any further, I need to stress to you an extremely important point. So important, that it requires bold and all caps: YOU MUST HAVE A LIGHT TIGHT ROOM!
I do not have an official “darkroom” in my house, so I use the one room that does NOT have a window – the upstairs bathroom (so glamorous, I know). I also seal the door by stuffing dark towels around the edges of the door frame.
This may sound extreme, but any light at all can, and will, destroy your undeveloped film. If you do not have a light tight room, you will want to invest in a changing bag, which is a completely safe, light tight alternative. Now that we are clear on the importance of a light tight room, let’s get started.
You will be happy to know that this is the only tricky part of developing your film at home, and honestly, it just takes a little bit of practice. You need to be able to focus, relax, and do this in the dark. Here is a video that demonstrates how to load your film onto the reel, and then install it in the developing tank.
This is the only step that you must do in your light tight room. Once you get the film onto the reel and in your developing tank, you can do everything else in the light, because your developing tank will be light tight.
Again, Step 1 has to be done in total darkness!
Here are the measurements for each of your chemicals, in the order in which you will use them:
You are now ready to rock and roll! Here is the process:
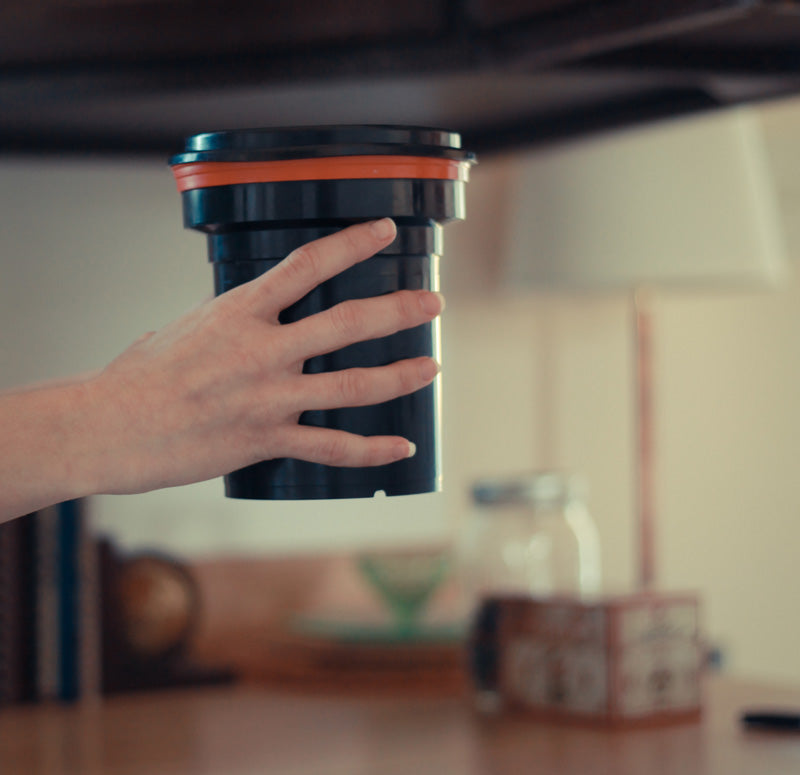
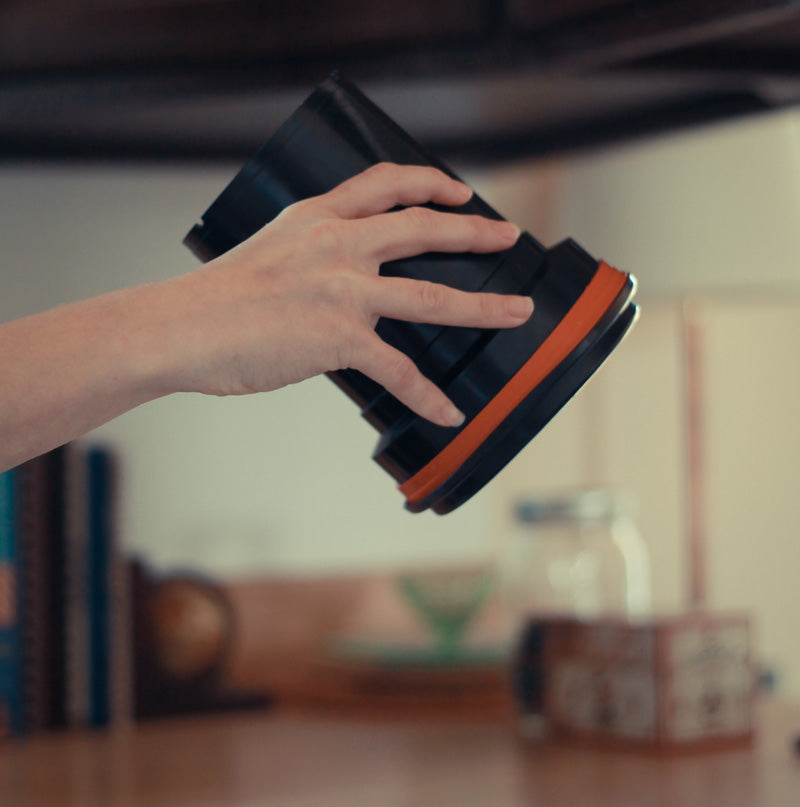
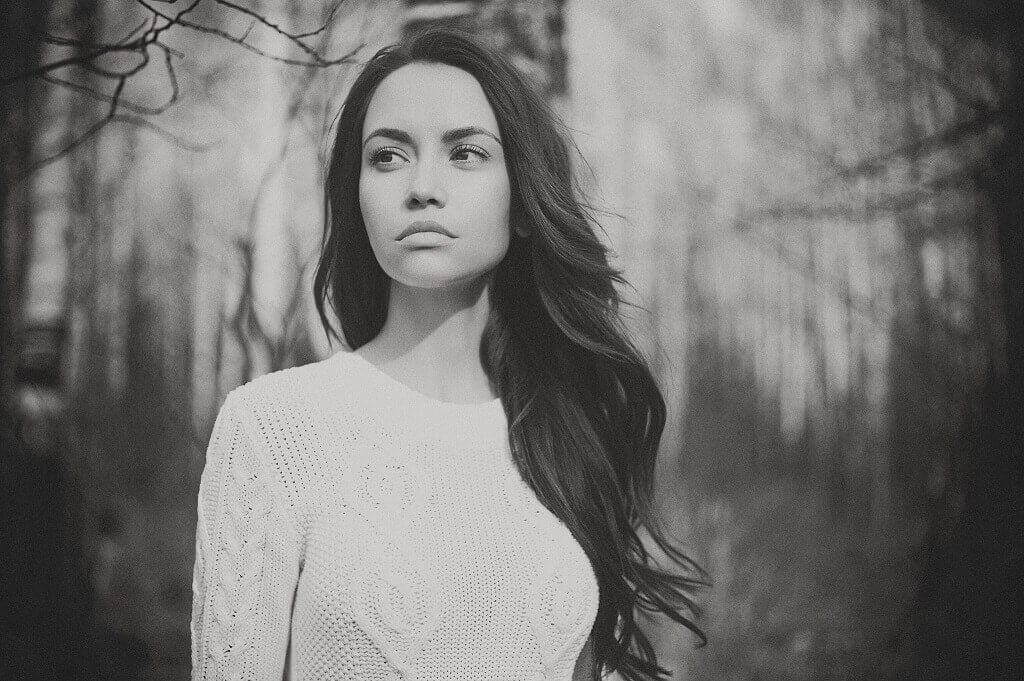
Let’s talk about how to dispose of your chemicals. There is a lot of debate out there about how to dispose of the chemicals, mainly the fixer, because of the silver content. Most fixers nowadays are ammonium thiosulphate based, so they are fairly benign compared to the fixers used in the past. Your best bet will be to save your used fixer, and either take it to a landfill, or a photo lab so they can run it through their filters. Sure, people pour much worse down their drains (ammonia, for example) but playing it safe when disposing of heavy metals is always a good habit.
Now that your film has been developed, you have a couple of options:
You can make your own prints, which is a separate post entirely!
You can have your film scanned to a disc at either your local photo lab, or, if your scanner is capable of scanning negatives, you can scan your own.
You are done!! I hope this tutorial has been of assistance to you in developing your film and that you were able to learn something (or a few things) along the way!
Do you have any questions or comments Developing Film at Home>? Leave us a comment below - we would LOVE to hear from you! And PLEASE SHARE this post using the social sharing buttons (we really appreciate it)!


Anna Gay is a portrait photographer based in Athens, GA and the author of the dPS ebook The Art of Self-Portraiture. She also designs actions and textures for Photoshop. When she is not shooting or writing, she enjoys spending time with her husband, and their two cats, Elphie and Fat Cat.

Comments