-
Lightroom Presets
- Mobile Presets
-
Photoshop
-
Learn
-
Support
-
Install
- Best Sellers
- Blog
By Lea Hartman on | No Comments

Being a person who doesn’t like clutter, the idea of individually printing the thousand+ photographs I take every year isn’t even an option in my head. Not because I don’t value printed photographs (quite the opposite), but because I'd need a huge number of boxes to contain them all.
Not only would it overflow my limited storage space, as an army wife, I try to keep our household goods at the lowest weight possible, knowing that if the army ships us elsewhere, there’s a limit to how much they’re willing to transport.
But I DO love printed photographs and I can only display so many on my walls. So what’s a girl to do? Enter photo books.
I created my first photo book in Lightroom back in 2011 and I’ve made one for my family every year since! I love them, my kids love them (we flip through them often), and our guests love them too. They're beautiful and take up very little space but still contain hundreds of my favorite images from throughout the year.
Creating a photo book in Lightroom is the most streamlined process I’ve found because all your images are already there! Now that the new year is upon us, it’s time to start working on my latest family photo book and I thought I’d take you along for the ride and show you how easy it really is!
I guess this step is optional because you can work from your Lightroom catalog. However, after having made several books, I can say for myself that it’s much easier to narrow your favorites beforehand. Otherwise, you may find yourself paralyzed with indecision because of the sheer number of choices.
Select any images that are meaningful to you, regardless of whether they are the highest quality. After all, this book is for your family to enjoy, not prospective clients. And contrary to popular belief, a photographer’s life isn’t always picture perfect, right? You can select as many images as you want! (HINT: Load your smartphone images into Lightroom as well - even if you don’t want to edit them further, you’ll be able to include them in your book too)!
You can create a portrait orientation, landscape orientation or a square book through Blurb (you don’t have to use Blurb - more on that later). You can select your cover type, page type and whether you want to include a Blurb logo page. (I always pay a little extra to have this option turned off). Blurb offers some nice upgraded options, some you can select within Lightroom and others after you’ve loaded the book to Blurb’s website during the ordering process.
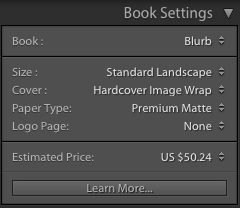
After you make your selections, you’ll see an estimated price listed. This is based upon your choices and a standard 20-page layout. If you go over the 20-pages (which I ALWAYS do) then your price will increase.
Lightroom has many pre-designed page options to choose from. From the book module, you have two options. The first is to select Auto Layout. One click and Lightroom will create your book for you. You can customize this option further but I’m not going to spend time explaining it for the simple reason that this isn’t my preferred method. The Auto Layout feature doesn’t take “design” into account and will simply add the images in order. However, if you like the one-photo-per-page layout, this feature will work wonderfully for you!

Instead, I like to design each page individually based on the event. You can select a pre-designed page layout by right-clicking on the arrow beneath each yellow highlighted page. (Pay no attention to the red exclamation points on the example photo below - I was creating the book without my hard drive attached and Lightroom wanted to make sure I knew).
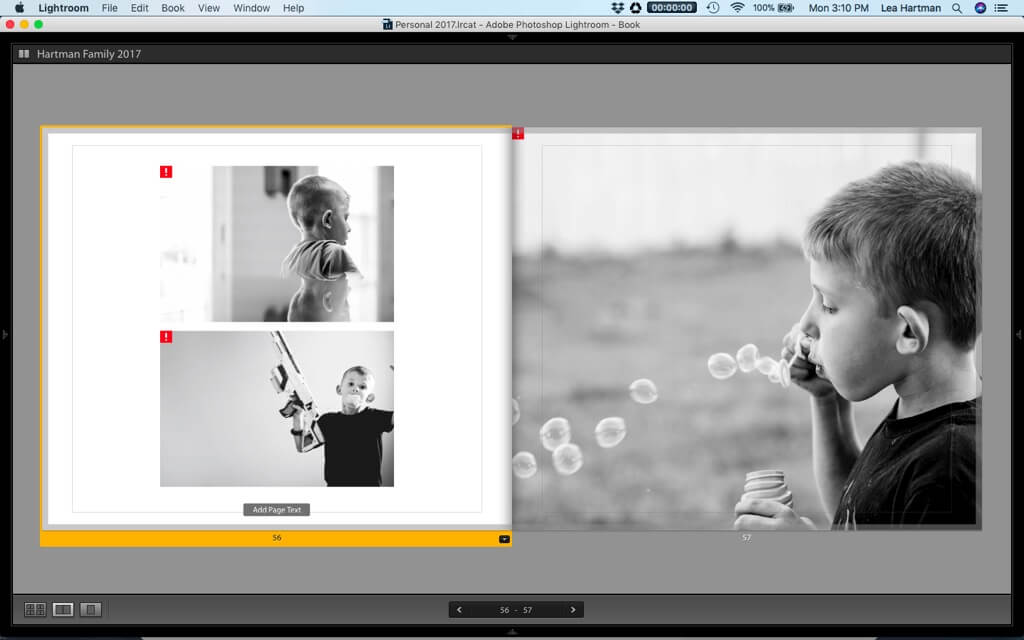
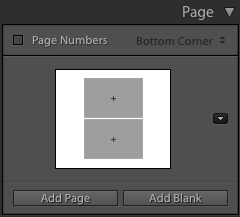
This is a simple drag and drop process. Drag your desired image from the thumbnail strip at the bottom of the screen to the chosen image box within your selected layout. To add another page, you can click the Add Page or Add Blank button in the Page panel to the right. Add Page will add a new page utilizing the same layout as the previous page and Add Blank will add a blank page.
Once you’re finished designing your book, create a saved book by clicking the button at the very top of the book thumbnail screen. You’ll have the option of naming your book, then, scroll to the bottom of the panels on the right and click, “Send Book to Blurb.” Once again, a popup will appear asking for book name, etc. When you’re done, your book will be uploaded to Blurb’s website. Depending on the size of your book, it may take a bit. Don’t close Lightroom until this upload is complete.
Your default browser will open to Blurb’s website once your book has finished uploading and is ready to order. You’ll have two weeks to order it before Blurb will delete it from your account. But have no fear, your book is safely stored in Lightroom! Blurb has a few additional upgrade options available on their website that may appeal to you during the ordering process. Some of these options include paper type, end sheet, and book cover upgrades. Take your pick and then order your book!
While I wouldn’t sell a Blurb book to a client, the quality is really very good and I’ve been extremely happy with them. (I do upgrade my paper to premium matte). That, coupled with the ease and convenience of designing a book in Lightroom makes Blurb a no-brainer for my own personal use.
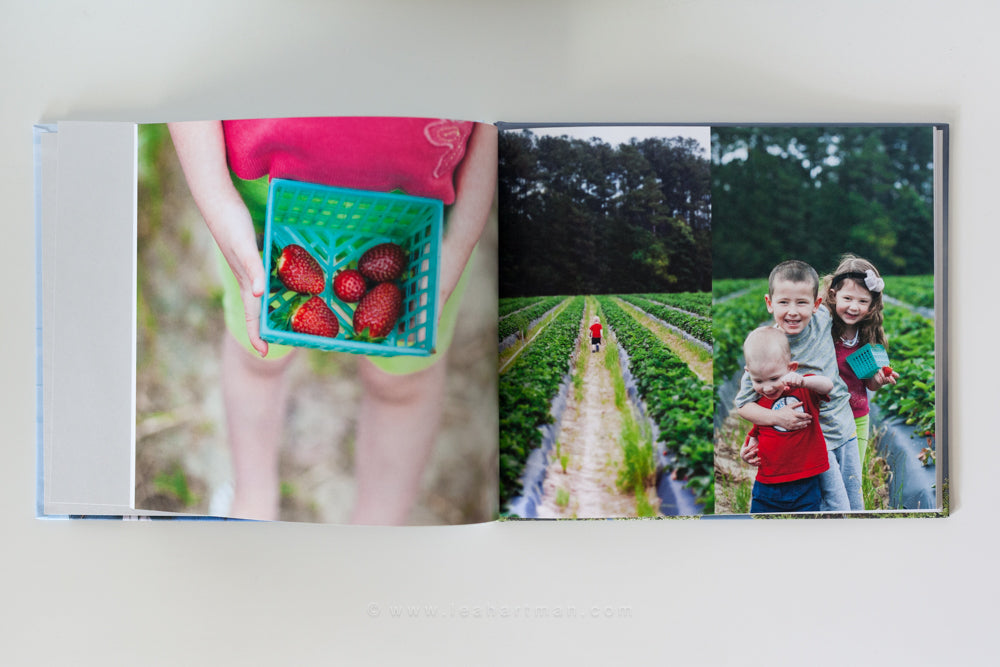
Though the book module in Lightroom is integrated directly with Blurb, you can actually create a book and export it in a pdf format or as jpeg files, which you can then upload to an alternate vendor of your choice.
While I have done this successfully through Artifact Uprising, let me caution you. Each vendor has a specific page size, and the book module in Lightroom is unlikely to perfectly match any of them. The integrated templates were specifically created for Blurb. However, if you do want to upload to a different vendor, your safest bet is to create a square book because its the most standard and widely used option among all book vendors.
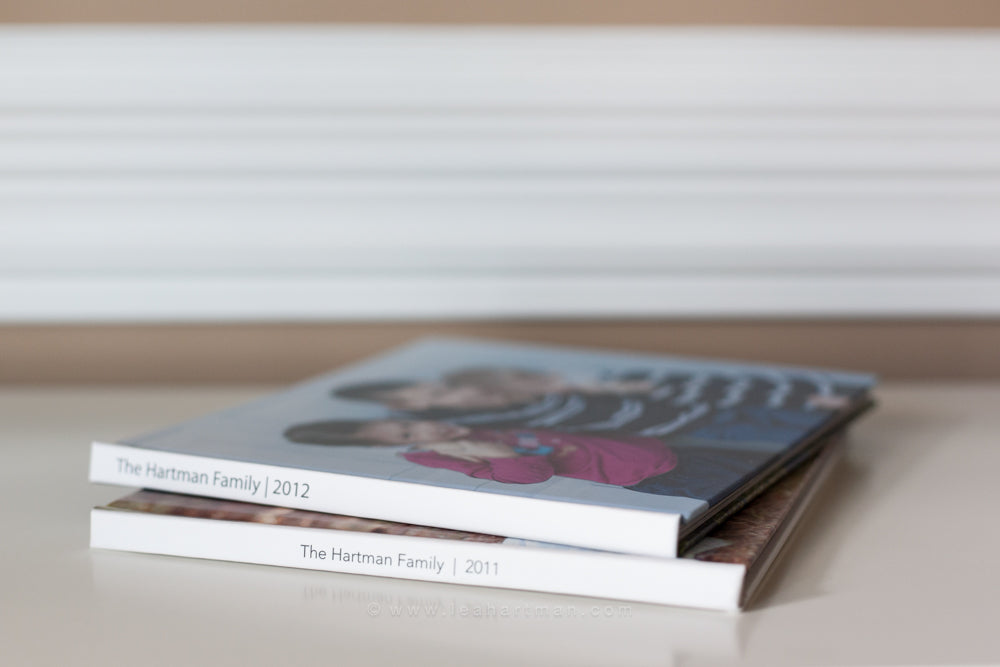
Books are such a great, space-saving way to have tangible photographs in your home. I have six years worth of memories sitting on my bookshelf taking up only about five inches of space!
If you're more of a visual learner, I've created a quick video tutorial below that will walk you through creating a photo book in Lightroom.


Lea is a self taught natural light photographer currently based out of North Carolina. Happily married for 14 years, she and her lover boy are raising three crazy kids wherever the army sends them. She's addicted to coffee, jamberry and her dog, Huxley.

Comments