- Lightroom Presets
- Mobile Presets
-
Photoshop
-
Learn
-
Support
-
Install
- Best Sellers
- Blog
By Anna Gay on | No Comments

One of the BEST ways to save time in post-processing is to get your white balance right in-camera!
Now, if you are wondering what white balance is, or if you are familiar with the term, but are not quite sure how to use it, I am going to walk you through the very basics of white balance in this post.
Human eyes naturally adjust in various lighting conditions to see whites as just that – white. If you are in warm, golden hour light, and you look at a white piece of paper, it will appear white. If you are in the shade, which is cool light, again, your eyes will see the paper as white.
Your camera, on the other hand is an entirely different story. It may not always see the correct light temperature, depending on what white balance setting you are using. If you are in the shade, and have your white balance set to expose for full sunlight, your whites will appear light blue and your image will have an overall blue cast to it. This is where light temperature comes into play.
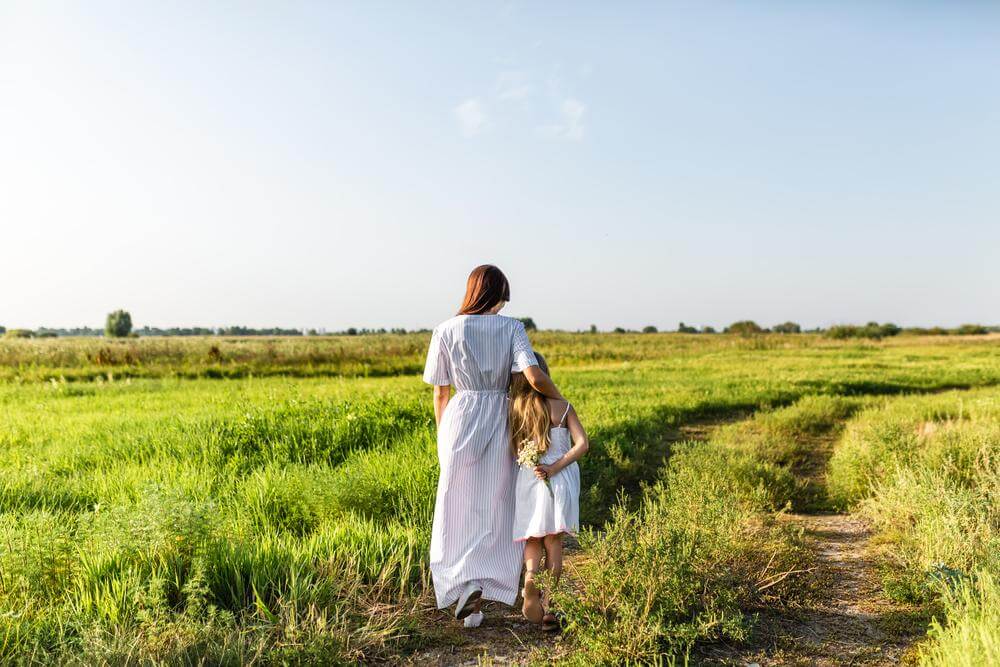
Light temperature is measured in Kelvins or (K) for short. Artificial light such as tungsten bulbs have lower light temperatures, around 3000 K. Natural light in the shade has a higher temperature, around 9500 K.
Here is a quick rundown of various lighting conditions, and their approximate measurements in Kelvins:

Now that we’ve had our quick science lesson on color temperature, let’s look at how to adjust your camera’s settings to achieve the correct white balance.
The white balance settings below are common to most DSLRs. The only exception is that some of the high-end DSLRs will have more advanced custom white balance settings. For now, let’s just look at these basic settings.

Auto white balance is a great place to start, because your camera can often nail the white balance in auto, depending on your lighting conditions - especially if you are in fairly consistent, even light.
In the shot above, I was in the shade on a sunny day. As you can see, Auto white balance looks pretty good, but Shade looks even better, as it is a tiny bit warmer than Auto. This is because the color temperature was slightly higher than the 5500 K range, so, by choosing Shade as my setting, the camera warmed up the overall tone.
In some situations, though, you may not have even light. For example, if you are shooting indoors, and you have a combination of window light and tungsten light from a bulb, you may need to make some adjustments to your white balance settings.
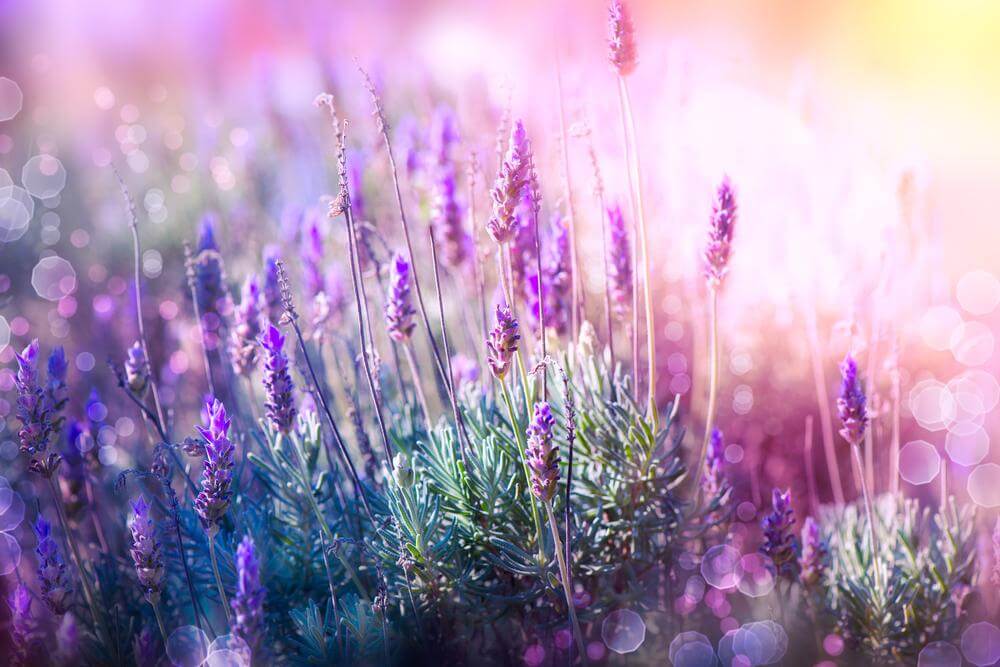
To do to this, first determine which light source is dominant: daylight, or tungsten? Whichever light source is dominant, set your camera’s white balance to the appropriate setting. If the window light is dominant, set your white balance to Daylight or Shade. If the bulb light is dominant, set your camera to Tungsten (or Fluorescent, depending on the bulb).
Another option is to manually select the light temperature using the Kelvin setting. This function allows you to select the appropriate amount of Kelvins, using a rough estimate of light temperature we discussed above.
Sometimes, you just can’t get the perfect white balance in camera, especially if you are shooting in a hurry, or in lighting conditions that keep changing. This is why we love our editing software!
The BEST PRACTICE here is to always shoot in RAW. Shooting in RAW preserves more data than a JPEG file, allowing you to make more adjustments in your editing.
While you are editing, keep in mind the idea that you want your whites to be white – not light blue, not yellow, JUST white!
If you are using Lightroom, the best way to adjust your white balance is by using the dropper tool to select a target neutral:
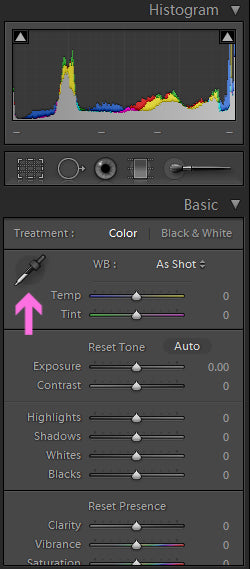
Let’s pretend that I shot this image in flash, which was a little off, and wanted to slightly adjust the white balance.

Look for gray/neutral areas in your image, and hover your dropper until the majority of the squares in the target neutral box match up as closely as possible on the RGB values. You may not be able to get them exact, but try to get them as close as you can. When you have found your target neutral, simply click the image, and your white balance will be adjusted.

Just like any other function on your camera, you may want to play around with the various white balance settings, and see how they work in various lighting conditions.
While this post gives you a basic guideline to follow to help you achieve proper white balance, as we all know, there can be exceptions to every rule, so make sure to experiment with your camera to see what works best for YOU!
Do you have any questions or comments about White Balance? Just leave us a comment below - we would LOVE to hear from you! And PLEASE SHARE this post using the social sharing buttons (we really appreciate it)!


Anna Gay is a portrait photographer based in Athens, GA and the author of the dPS ebook The Art of Self-Portraiture. She also designs actions and textures for Photoshop. When she is not shooting or writing, she enjoys spending time with her husband, and their two cats, Elphie and Fat Cat.

Comments