- Lightroom Presets
- Mobile Presets
-
Photoshop
-
Learn
-
Support
-
Install
- Best Sellers
- Blog
By Gayle Vehar on | No Comments
Editing photos in Lightroom Classic CC using presets and brushes saves me so much time! I can’t imagine editing photos without them. That being said, the workflow process is a little different than editing on your own. So let’s get started.
**Lightroom CC and Lightroom Mobile don't currently have the ability to use brushes.
I always start by evaluating my photo and making a few decisions about what it needs. Is it underexposed? Is the white balance WAY off? Did it turn out the way I envisioned it? Does it need a little ooomph?
These thoughts may even apply to a group of photos that I will be editing at the same time. This also helps me decide if I want to use Lightroom brushes in addition to creative presets.
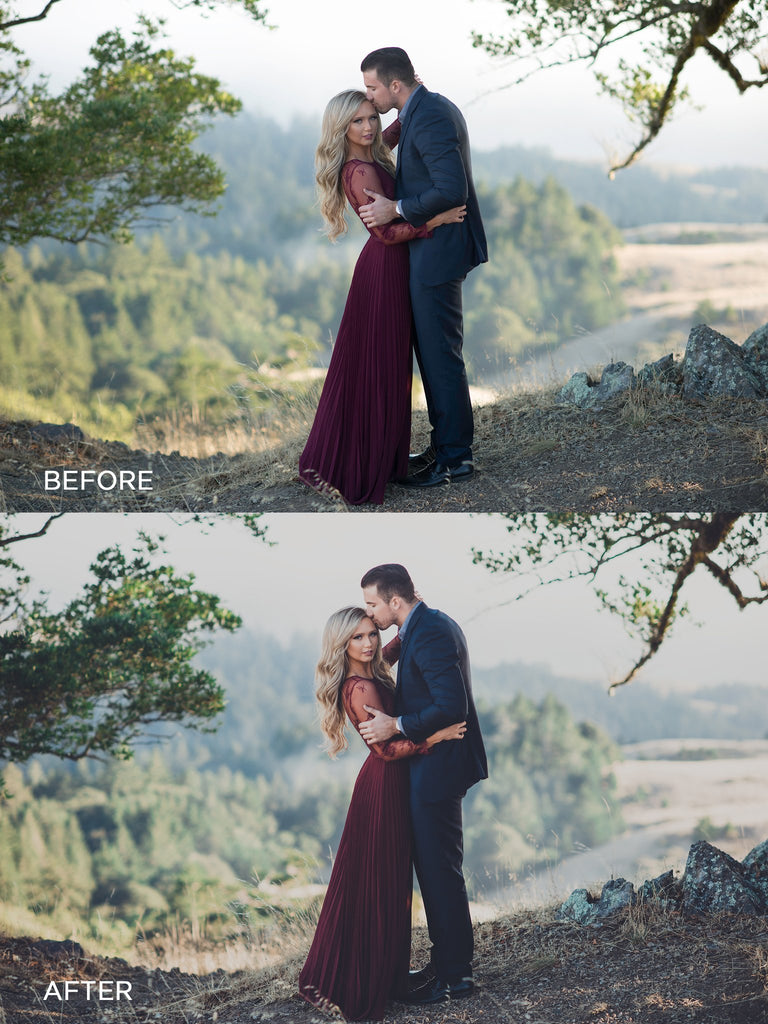
Creative Presets like those in the Pretty Film Pastels Collection or the Pretty Film Bohemian Collection will work like a dream on images that are well exposed and have good contrast. If you use Lightroom’s Basic Panel to make any changes prior to applying the preset, your changes may be over-ridden when you click on the preset. So, be sure to to apply the preset and then use the basic panel to adjust as needed.
Below are some helpful steps for editing your photo in Lightroom using a creative preset. Consider these quick tips while working through your session.
Apply a Preset! This probably sounds like a no-brainer. However, many don't know if they should apply a creative preset first or make some basic adjustments first. This just spells it out—apply your preset first.
Adjust Exposure and White Balance! Before you move onto anything else fix your exposure and white balance. These two simple steps will make the biggest difference in your final image outcome. Presets are created to applied to a well exposed image. Once preset can't fix EVERY photo problem on every photo. Doing this step second allows you to make those tweaks without the preset undoing your work. OR
Use the Toolkit Presets! Some of our collections come with additional toolkit presets that can help you make your white balance and exposure adjustments quickly. They also include presets to help with other common issues and adjustments you may want to make to your image. If your collection came with a Toolkit, this is where you want to utilize it!
Use Brushes and Filters to Make Local Edits! Correct issues like underexposure, overexposure, and color casts using these tools. While you are here you can sharpen eyes and soften skin if needed. **Hint: The Pretty Presets Perfect Portrait Brushes make these edits SO much easier!
Reduce Noise! If you have a photo shot at high ISO, then go down to the Detail Panel and increase the “Luminance” slider a bit to help decrease the noise.
Finish or Adjust! If you like it, you are done. If you need to tweak the preset, you can do so over in the Basic Panel (and other panels, of course) on the right.
What makes the Workflow Presets sets so popular presets here at Pretty Presets is their ability to be layered together to create a wide variety of different looks. They also greatly reduce the amount of time spent editing your photo. Below is an example edit using our Clean Edit Portrait Workflow.
With the workflow collections, you are able to keep more control over the final edit and you are also able to create an unlimited amount of custom combinations by layering the presets.
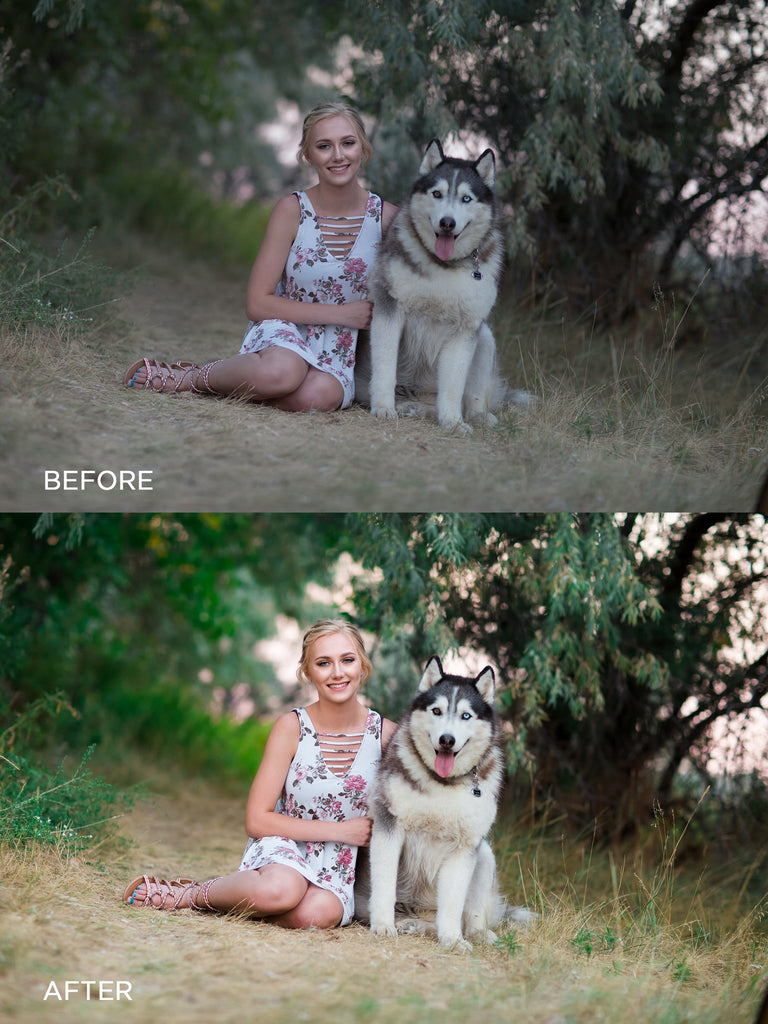
It's super easy to use the workflow collections to layer presets and obtain the look you desire. Here are the steps I made to achieve the edit above.
Adjust White Balance! I do this step first using the White Balance dropper at the top of the Lightroom Basic Panel.
Choose a Workflow Collection! Choose one of the Workflow Sets you want to use for editing. For the above edit, I used the Clean Edit Portrait Workflow.
Work Down the Preset Collection! No matter the workflow collection you choose, begin working down the preset collection set to apply the edits that your photo needs. You just need to click to apply the presets.
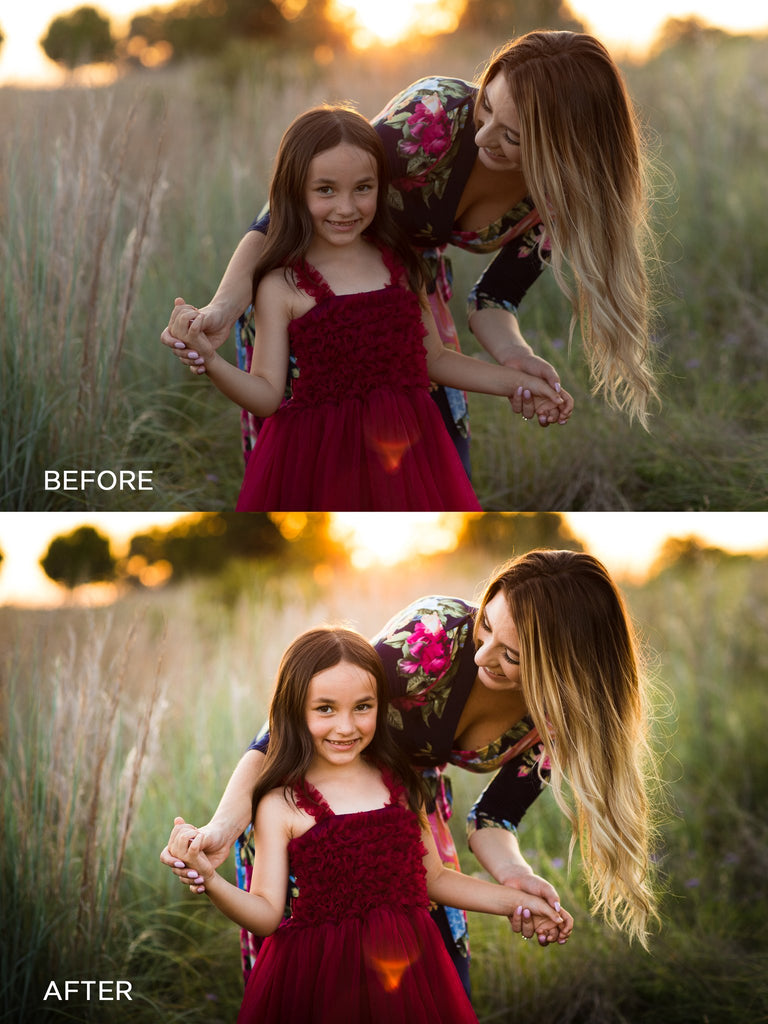
Use Lightroom Brushes! If you find issues with your photo that aren’t being addressed with the presets, you can use Lightroom Brushes to fix them. This is also a great time to sharpen eyes and smooth skin if needed. **Hint: Once again, the Pretty Presets Perfect Portrait Brushes makes this SO much easier!
Make sure to read the rest of our series to help you Master Lightroom. If you’ve missed any of the posts, you can read/review them at any time by clicking these links!
Day 1. The Lightroom Catalog
Day 2. Lightroom Import
Day 3. Lightroom Library Module
Day 4. Lightroom Develop Module
Day 5. Basic Lightroom Editing Workflow
Day 7. Lightroom Export and Everything Else
Do you have any questions or comments about Editing with Lightroom Presets? Just leave us a comment below - we would LOVE to hear from you. And PLEASE SHARE this post using the social sharing buttons (we really appreciate it)!




Hi!! I am Gayle. I am a wife to my handsome husband and mom to 4 beautiful kids. In my spare time, I am a photographer and blogger at Mom and Camera. I have a passion for sharing my love of photography with others. I teach local photography classes and regularly share photography tips and tricks on my blog. I hang out there a lot—I’d love you to stop by and visit!

Comments