- Lightroom Presets
- Mobile Presets
-
Photoshop
-
Learn
-
Support
-
Install
- Best Sellers
- Blog
By Gayle Vehar on | No Comments
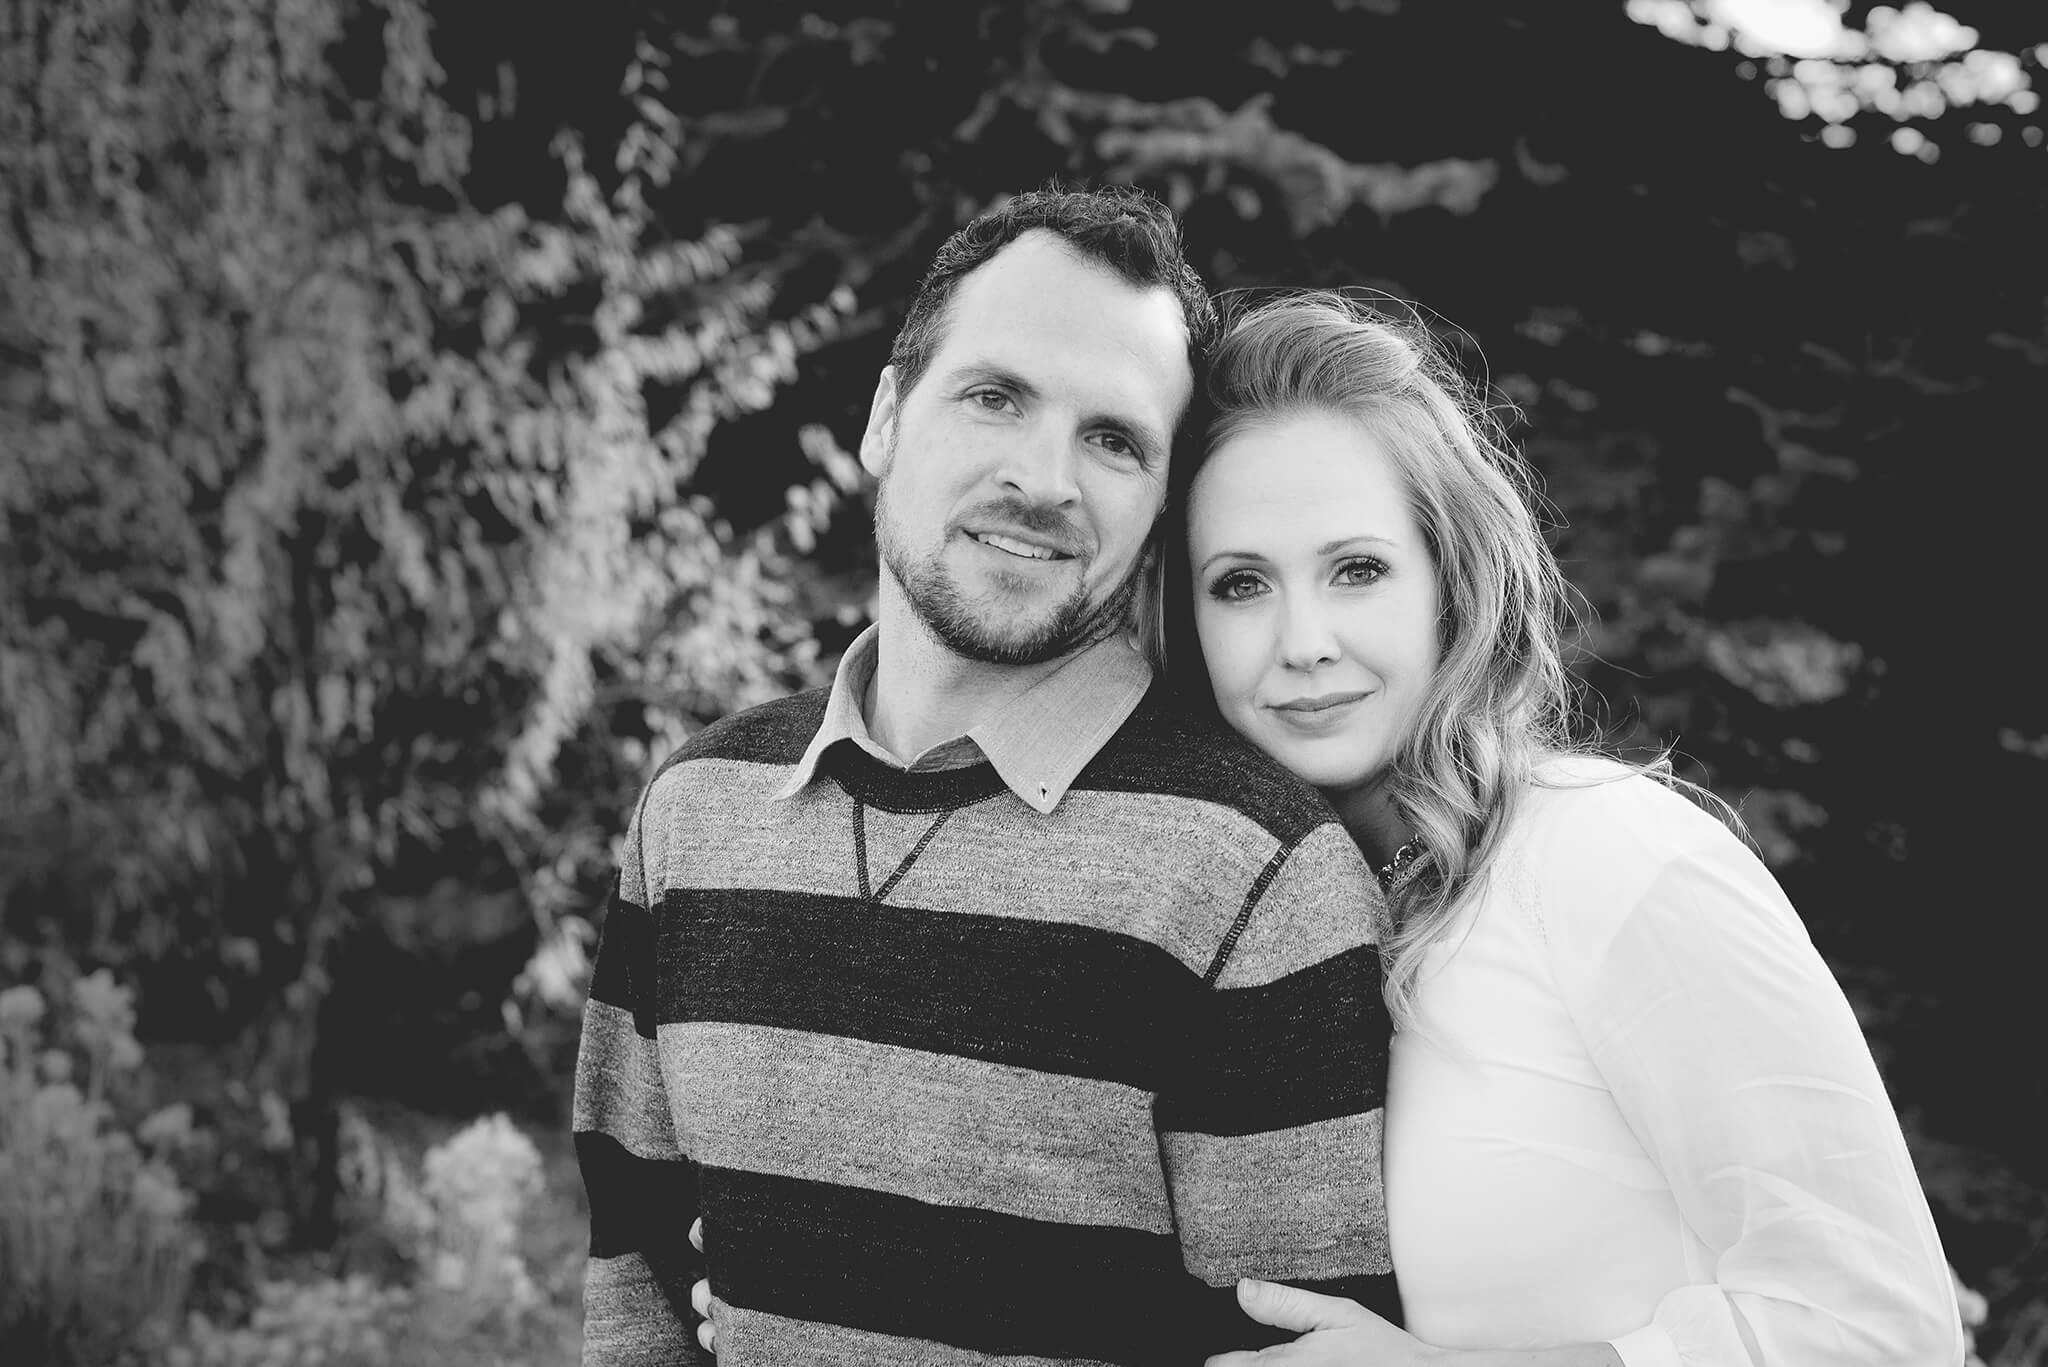
I had a little incident with my camera recently. I accidentally turned on the bracketing setting (I’m under a year with my new camera and still hit the wrong buttons all the time - hopefully I am not the only one that does this!)
That wouldn’t have been so terrible all by itself, but it happened right before a photoshoot and I didn’t know it happened until I was in the middle of the session! I realized something was wrong during the shoot, but we were pressed for time with the best light fading quickly - I didn’t have time to figure out the problem.
So I did what I thought was best - I kept shooting and made sure to take lots of extra shots. I would figure it out later!
When I got home, and imported the images to Lightroom, I found I had about 50% good exposure photos and 50% unusable photos - definitely not optimal.
I edited the best ones and tried to salvage some of the others. The session turned out fine despite a WHOLE LOT of extra editing time and worry.
However, a few days later, I learned about "Match Total Exposure", a trick that could have saved me TONS of editing time and probably saved several of the photos that I thought were unusable. I want to pass this important information on to you in hopes that it can save you time and possibly even an entire session someday!
Here is what my initial Lightroom Filmstrip looked like with the different (good and bad) exposures. Yikes!

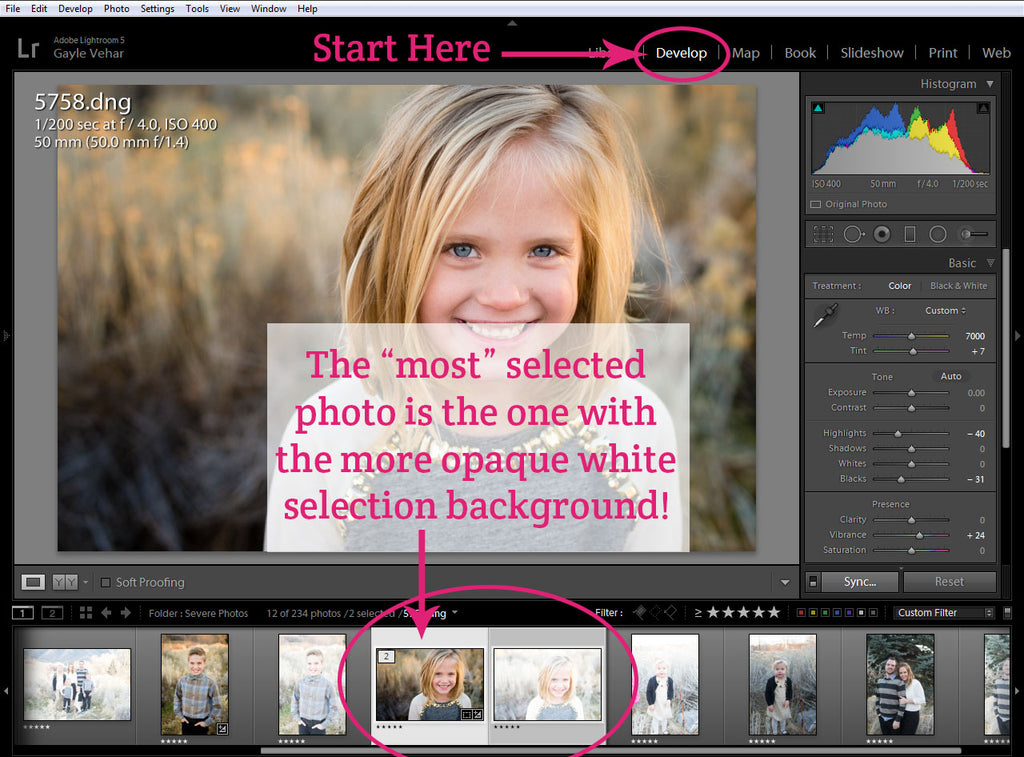
1. To use this match total exposure trick, you need to be in the Develop Module and have two photos selected that have very different exposures.
2. Next, make sure the one you want both photos to look like is the one that is “most” selected.
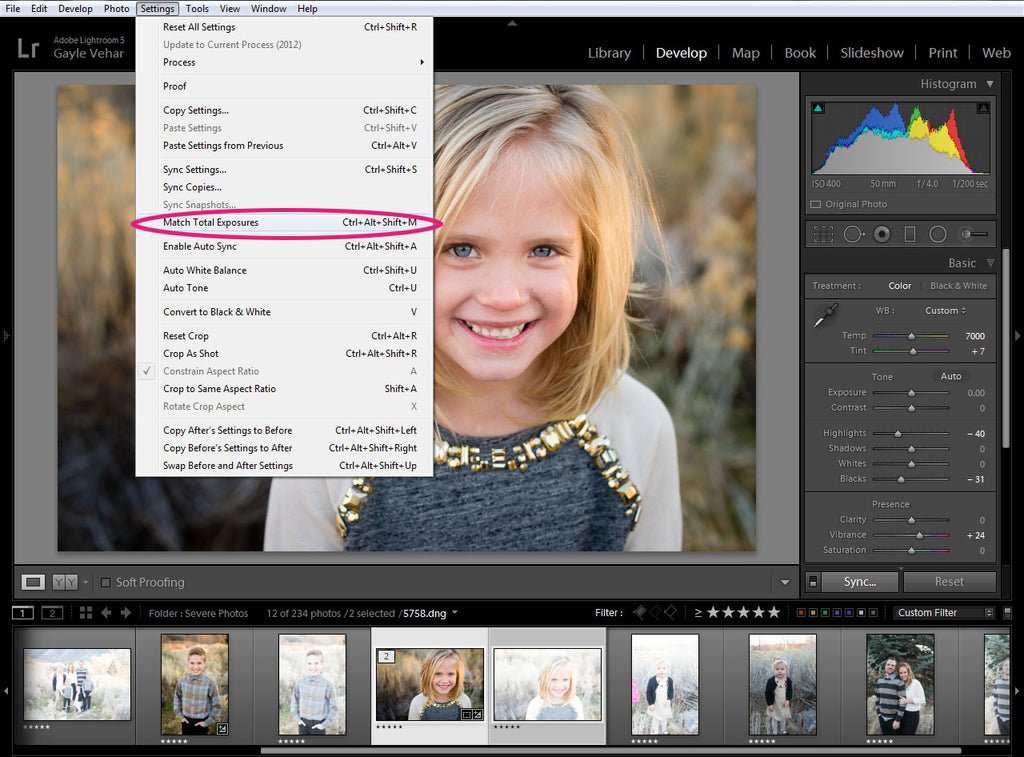
3. Then go up to the “Settings” pull-down menu and select “Match Total Exposures".
When I did this with the photos that I took that day, it ended up rescuing almost EVERY SINGLE PHOTO I took (even though many of them looked VERY overexposed)!!
Check out how nicely Lightroom matched the exposure of the two photos!
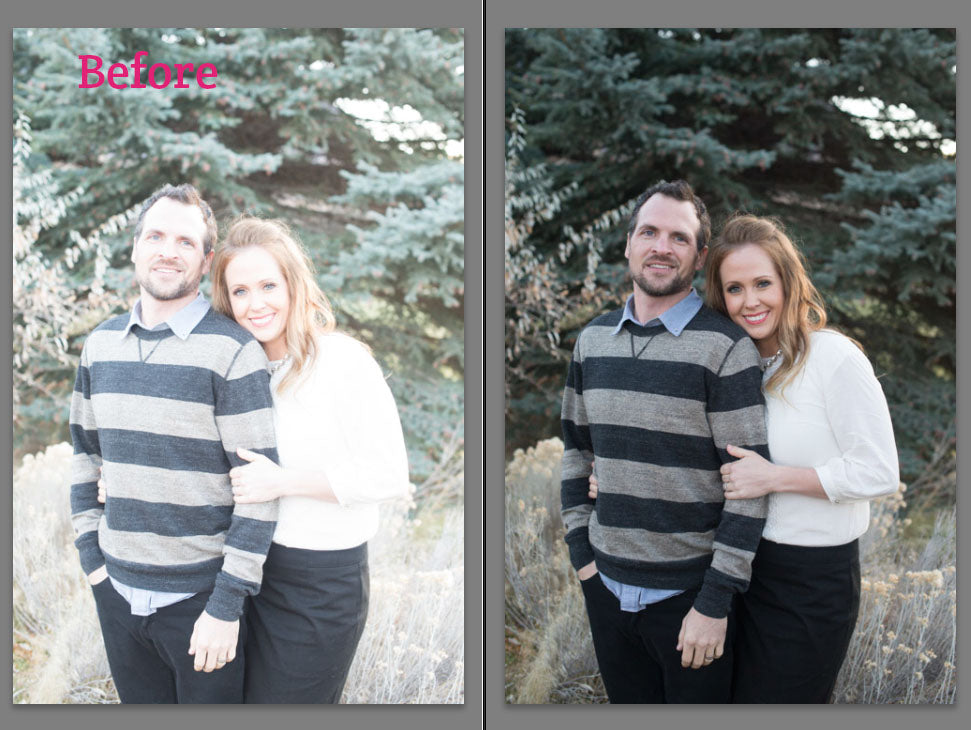

There were still a few “hot” spots on their faces, but I spent 2 seconds bringing down the highlights to fix that and it looked much better!
Magic? I say YES!
A few additional thoughts:
1. I was shooting in RAW. I am not sure if all the photos would have been as easily salvaged if they had been shot in JPEG. Great recovery options are one of the biggest reasons I choose to shoot RAW over JPEG.
2. I think this could also work on photos that you were taking while shooting in one of the priority modes. Sometimes those photos tend to vary a bit in exposure. I am totally trying it next time that happens to me!
Do you have any questions or comments about Match Total Exposure in Lightroom? Leave us a comment below - we would LOVE to hear from you! And PLEASE SHARE this post using the social sharing buttons (we really appreciate it)!


Hi!! I am Gayle. I am a wife to my handsome husband and mom to 4 beautiful kids. In my spare time, I am a photographer and blogger at Mom and Camera. I have a passion for sharing my love of photography with others. I teach local photography classes and regularly share photography tips and tricks on my blog. I hang out there a lot—I’d love you to stop by and visit!

Comments