-
Lightroom Presets
- Mobile Presets
-
Photoshop
-
Learn
-
Support
-
Install
- Best Sellers
- Blog
By Amanda Padgett on | No Comments

Colors, Temperatures, & Tints! These are all things that make up "White Balance."
I know it can all get so confusing, and sometimes take what should typically be a fun activity and turn it into a frustrating one. Don't worry; I am here to help!
This tutorial will take some of the frustration away by teaching you how to quickly and easily fix white balance in Lightroom!
White balance is the color temperature of an image as your camera captures it. So, why isn't your white balance perfect every time?
It's because your camera cannot read the color of light like it can read the strength of the light. Your camera needs YOU to tell it what to do - what the color of the light is like in a setting so it can compensate accordingly.

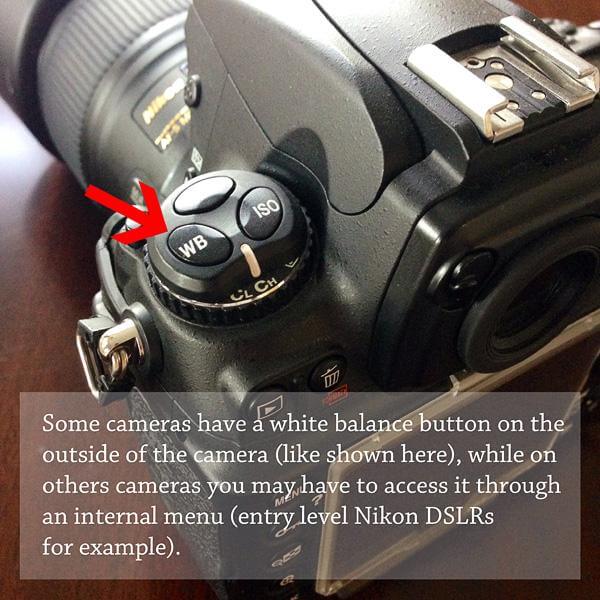
However, this post is not about HOW to capture the correct white balance in-camera (you can read and learn more about in-camera white balance here).
For this tutorial, we will assume that auto white balance was used and your image is slightly too cool, or that a cloudy or shade option was used in-camera and the image is too warm.
Problems with white balance are almost always one of those two situations: Too Cool or Too Warm.
Now, let's talk about how to fix this in Lightroom, so your image has proper white balance:
There are three different ways to fix white balance in Lightroom. They are:
Let's take a closer look, starting with the first option:
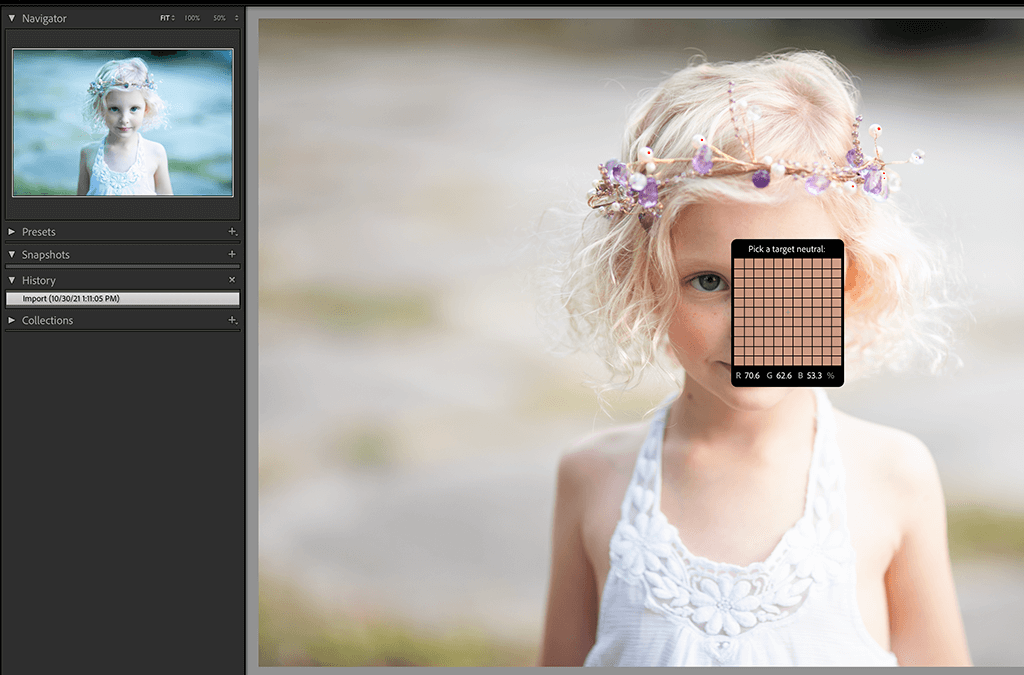
The first option is using the Lightroom Eye Dropper. To get started, click the eyedropper icon in the Basic panel. Then, move the eyedropper to a neutral part of your image, meaning a place where the RGB (red, green, blue) values are very close to each other, to try and find a neutral spot to use as the new target neutral. As you hover over an area, a box will show up with the RGB color values at the bottom.

An excellent place to start with is the whites of the eyes, then the teeth, then something in the image that is neutral like a white or tan, even something gray like clothing, cement, etc.

While you are looking for the right spot, as you move around the image, you will get a preview of the white balance in the Navigator panel. The white balance on your photo will not actually change until you click your mouse, so take your time to find the right spot. If you do click and then decide the new white balance is not quite right, you can try again.

Most digital cameras have these white balance options that can be set in-camera: Auto, Flash, Daylight, Cloudy, Shade, Tungsten, Fluorescent, and Kelvin. If you choose one of the special white balance options in-camera, that is A-okay. If you decide to use auto white balance, that is perfectly fine too.
But what do you do if the white balance option you chose in-camera (any of the options) is causing your white balance not to look quite right?
You can just choose another white balance option in Lightroom - you will find those SAME white balance options there! For example, if you used the cloudy setting in-camera but the image came out too warm, you can try the Tungsten setting, which is a cooler white balance setting (to balance out the warmth).


You can simply click each white balance preset until you find one that works for your image!
Keep in mind that you might find one that works reasonably well but is still too cool or too warm or green, etc. If that is the case, you will need to make some simple adjustments to the temp or tint sliders to find the perfect white balance (covered below).
Sometimes the image just needs a little tweaking, nothing major! If you can quickly identify the problem with the white balance, say your image is just a tad too cool, you can simply click the temp slider and gently move it towards the yellows. Or, if the image seems to have a bit of a green tint, slowly move the tint slider toward the magenta side.

Sometimes the change in white balance is subtle; sometimes, it is drastic. It all depends on the individual image and the white balance setting used in-camera.
For the image I used in this example, the change is subtle but noticeable. Initially, the image was a tad cool, but with a slight white balance adjustment in Lightroom, it is now soft and warm.

Do you have any questions or comments about How to Get Perfect White Balance in Lightroom? Just leave us a comment below - we would LOVE to hear from you! And PLEASE SHARE this post using the social sharing buttons (we really appreciate it)!


Hi! I'm Amanda, a homeschooling mom of four, from South Carolina. I am passionate about photography, photo editing, and helping others learn to love their camera and editing programs.

Comments