- Lightroom Presets
- Mobile Presets
-
Photoshop
-
Learn
-
Support
-
Install
- Best Sellers
- Blog
By Allison Wheeler on | No Comments

While taking photos in the bright mid-day sun presents a certain set of challenges, it can still be done with great results - if you know what to look for.
Unfortunately, taking pictures when the sun is high up in the sky will not give you the dreamy colors or the even exposures of golden hour. If you aren't careful, shooting in direct sunlight at noon (or a couple hours before or after 12 pm) will give you harsh shadows, unwanted contrast, and squinty eyes.
In this tutorial, I will give you a few tricks to use when are photographing clients or your family in the middle of the day.
The first question you might want answered is, "Where do I shoot at midday?"
The answer is simple: find some open shade. What exactly is open shade? Open shade is simply a shady area, usually found under or beside something. For example, open shade can easily be found under an awning, next to buildings, beneath leafy branches of a tree, or any other area the direct beams of the sun are blocked and create a shadow.
Finding spots with open shade when the sun is high is a lifesaver when trying to photograph mid-day. You can even make your own shade. Think umbrellas, quilts being hung out to dry, or hoisting kayaks about your head. Let your creativity soar!
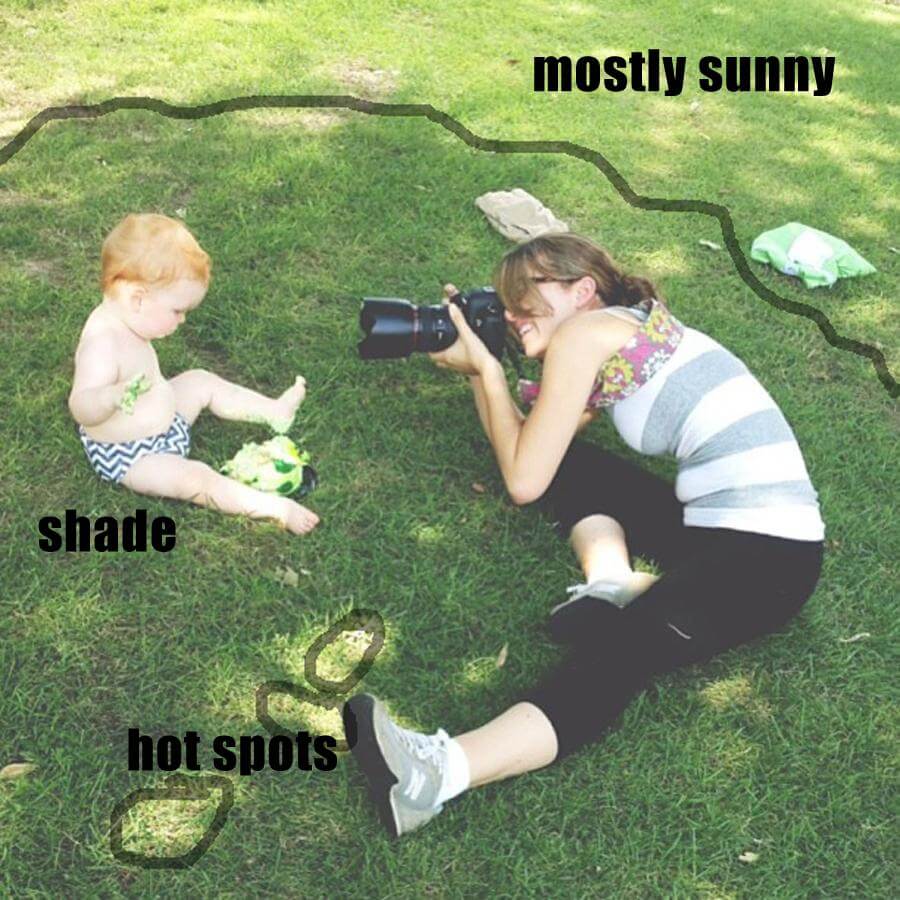
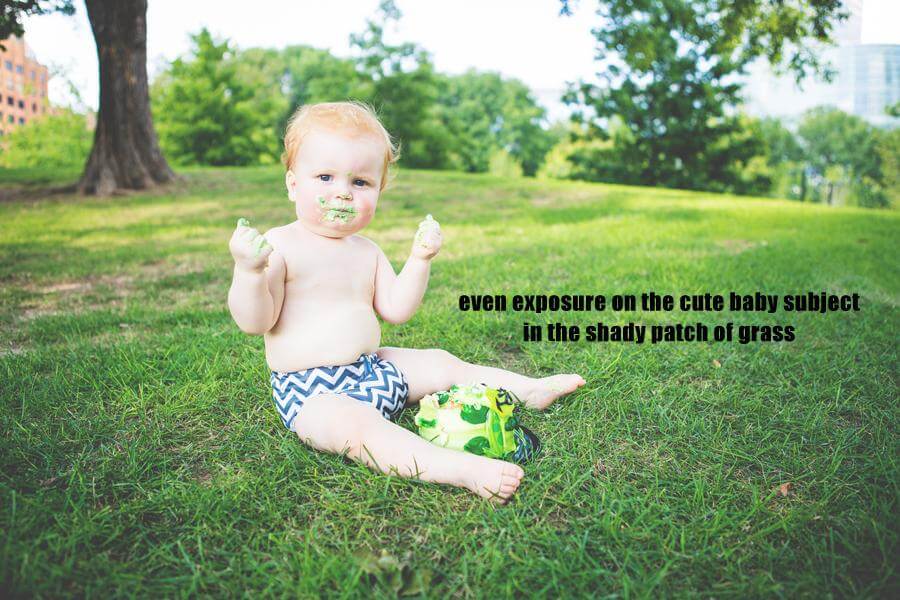
In the images below, you can see the open shade. I found underneath a giant tree to photograph a cake smash for my client's son. I have circled the hot spots and drawn a line where the sun and shadow meet. One of the final images is also included below so you can see how the image turned out. Nice, even exposure and no splotches of light to throw off the consistency of the photo.
Here is a quick video discussing open shade and demonstrating the difference between good and bad shade:
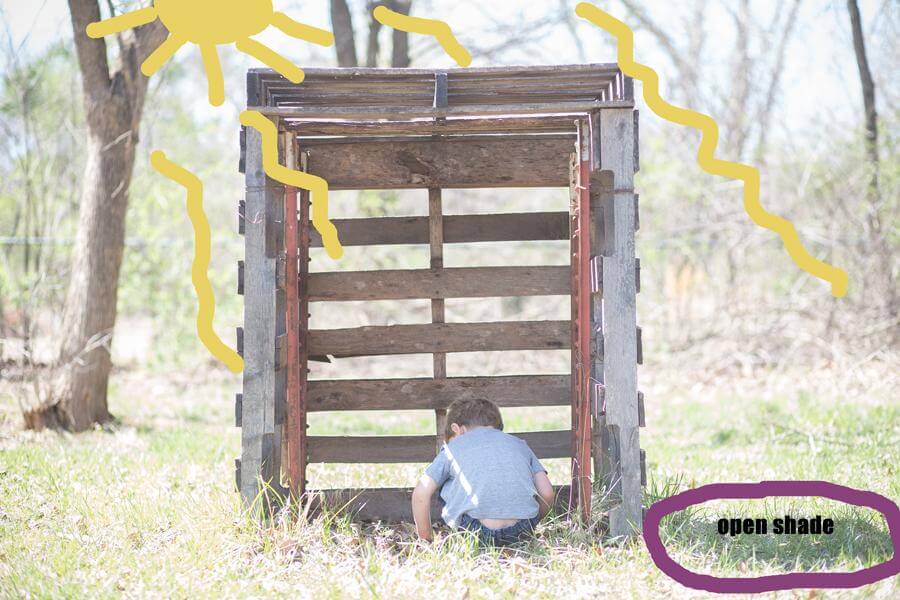
The next couple images also illustrate finding open shade. My son was playing in his fort in our backyard. You can see the sun I drew (I'm an artist, right lol?!) that was coming almost directly from above as well as the tiny bit of shade under the wood slats of the fort. Once you train your "photographers eyes" to look for it, you can find small bits of shade everywhere.

Secondly, you can use the sun to your advantage to create images where the light plays a role.
A few months back I wrote a post with tips to create backlit images. Take notice of the position of the sun. If you position your subject with his or her back to the sun or angled a bit, you will be able to keep the focal point (example: your subject's face) at an even exposure. Find an angle that keeps hot spots off your subjects and their eyes open. Unless, of course, you are wanting to capture a squinty eyed face.
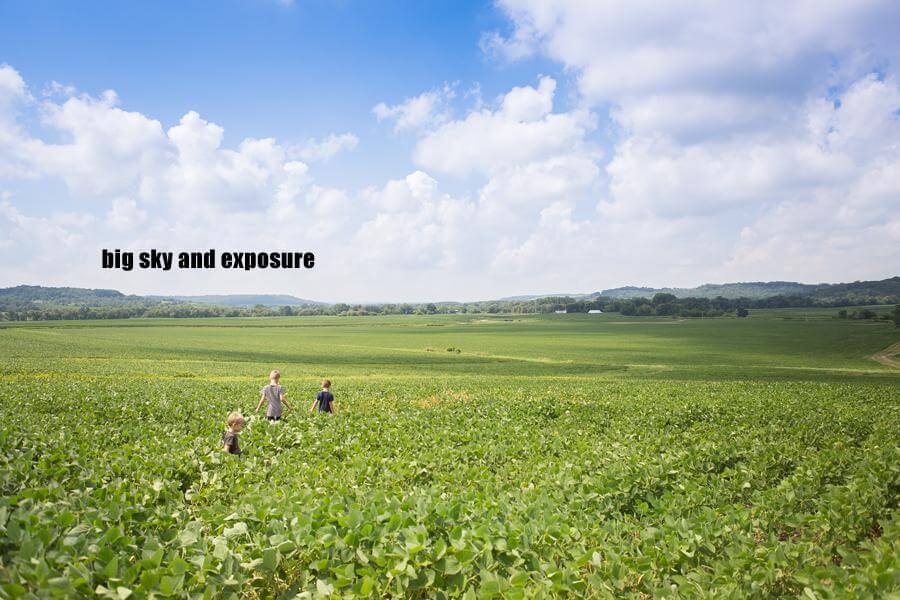
One of the positive things about shooting midday is that you CAN capture the sky. In so many images when you expose for the face, the sky blows out. Midday is the perfect time to capture detail in the skies as well. I love capturing those big puffy clouds!
Below are examples of photographs taken with mid-day light with no open shade in sight. The one with my boys wading through a soybean field was taken with the sun on their backs. This makes it easy show the detail in the sky and still avoid squinty eyes.
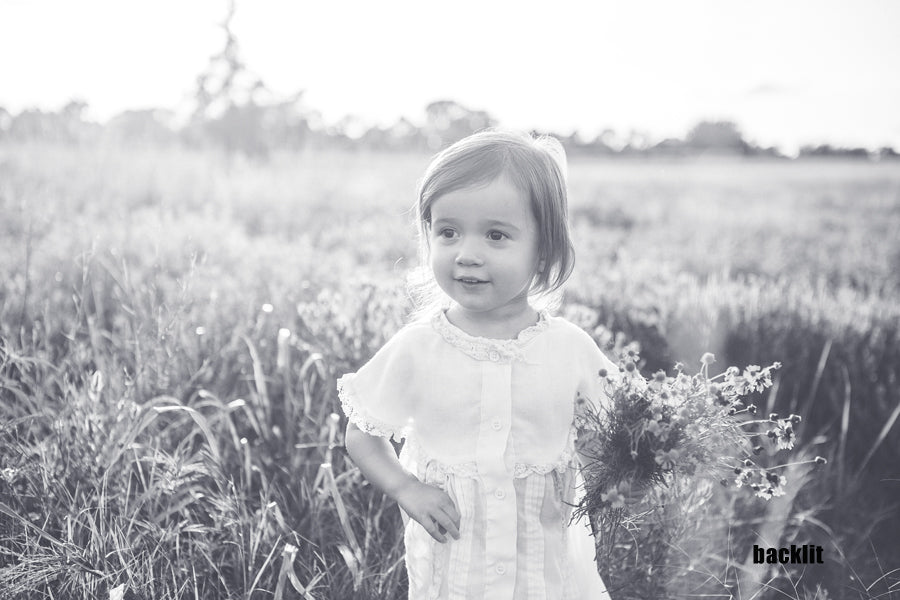
This black and white image is of my sweet niece. The lighting was about the same as the soybean field picture, but as you can see there is no detail in the sky. The sun is slightly behind her, giving the image a nice backlit feel. She is also angled a bit to allow for an even exposure on her face.
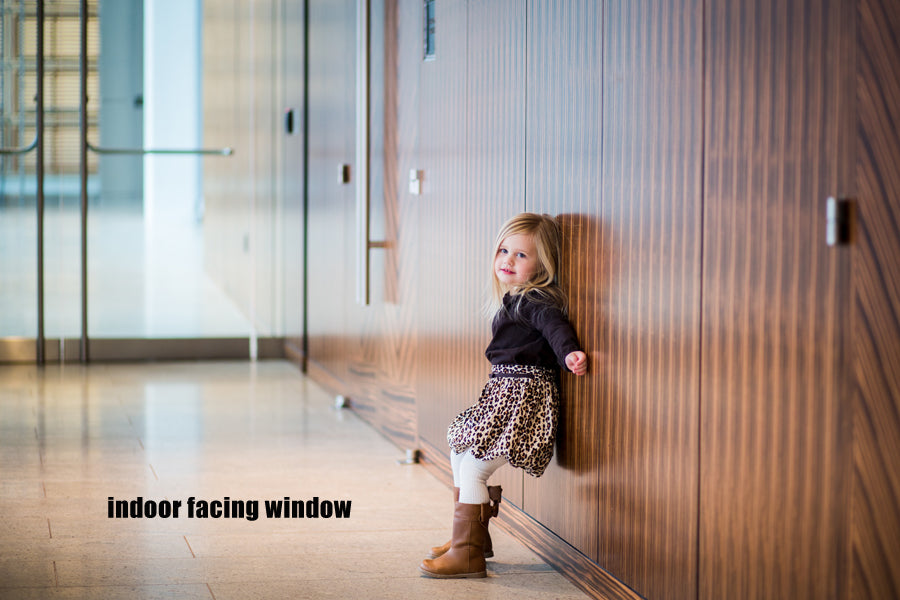
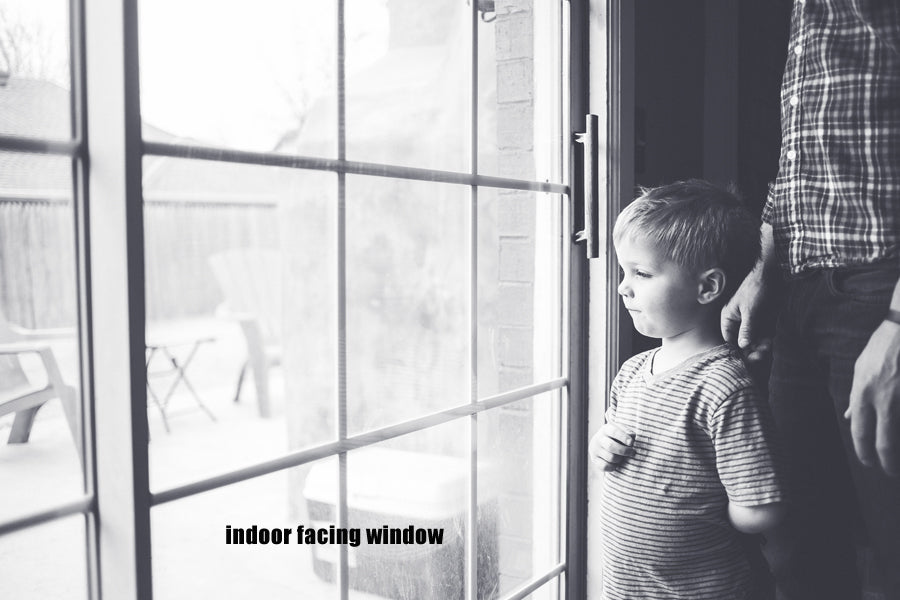
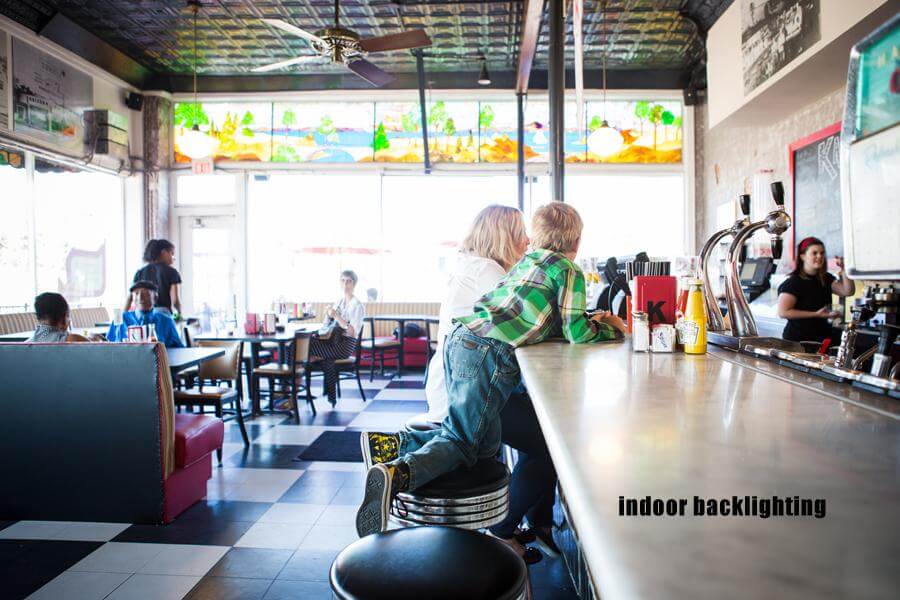
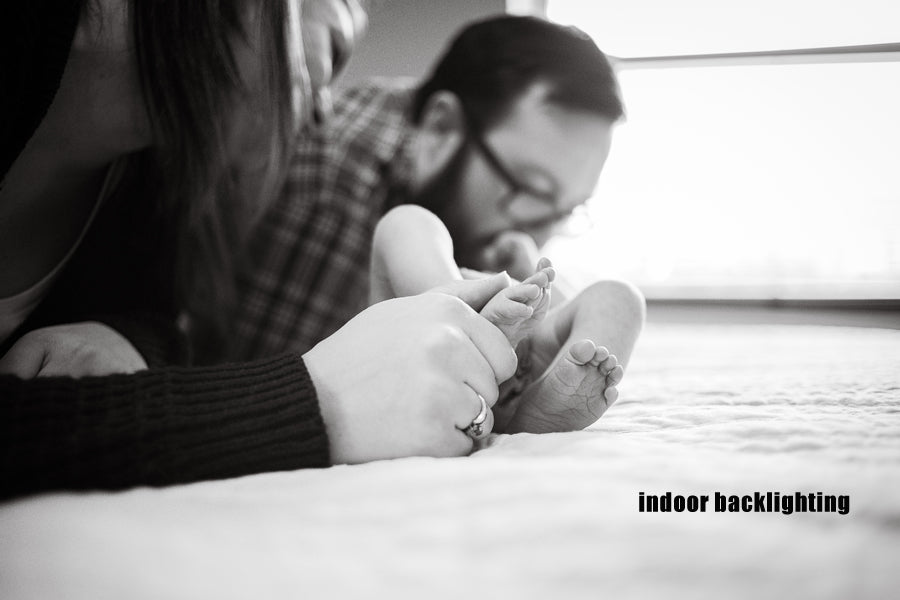
One of my favorite ways to combat the direct mid-day light is to shoot indoors. The large amount of bright sunlight outside filters through windows perfectly.
I tend to schedule many of my sessions in homes or establishments during the bright times of day. Window light is such a great light source. It can be used to backlight an image and is soft enough to illuminate straight on too. And remember to turn off all artificial light when shooting indoors to minimize color cast and white balance problems.)
Ah, window light, I love you!
In addition to where to shoot, I have some other great tips that will make shooting in bright, midday sunlight a little easier.
I often using Spot Metering to get an exact area to meter for light. For example, I almost always meter off my subject's cheek area under the eye to find the settings I want for the image's exposure.
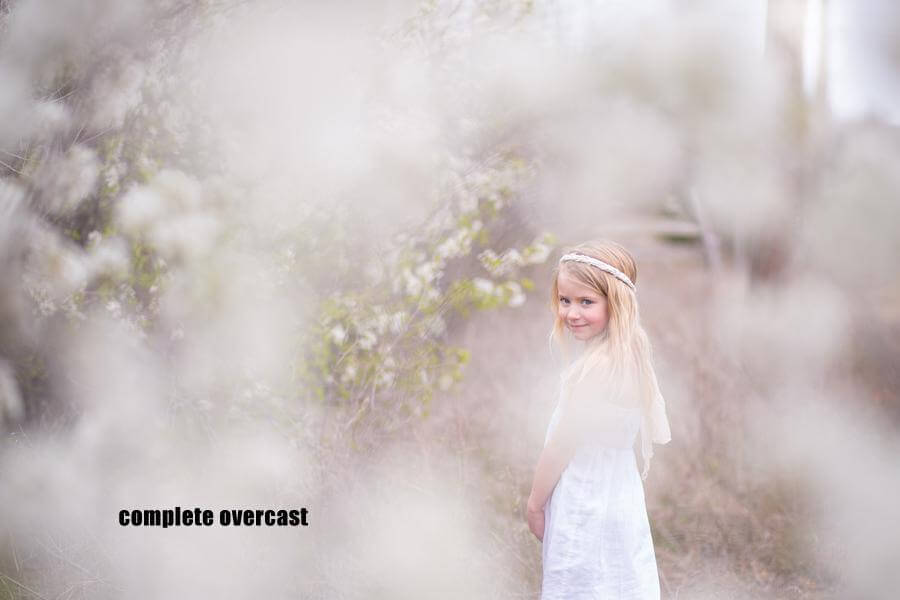
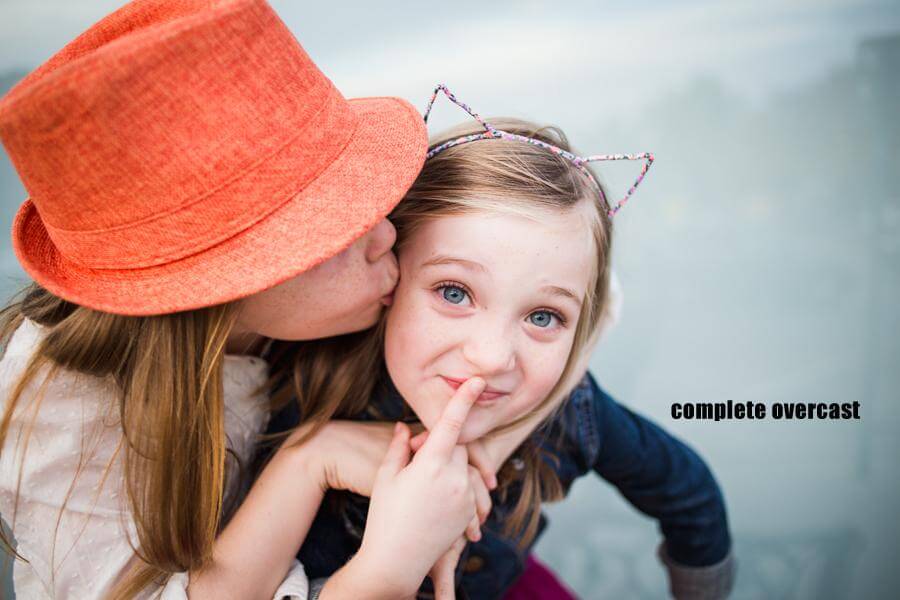
Cloudy day = Perfection. I read somewhere that clouds are nature's natural softbox. Overcast skies help cut down on the harsh light and even out hot spots.
Below are images taken on overcast days. I love how I did not have to worry about shadows or uneven exposures.
Shooting in RAW format helps recover highlights, shadows, and other components that may be present in your image. If you slightly overexpose your image (especially in backlit images) you will be able to restore these elements in your photograph.
And, while it's not a strength of mine, you can most definitely use reflectors or external lighting to shoot during the day. By using these extra light sources, you can effectively bounce light onto your subject to give your image the look you want.
Always remember to be aware of hot spots and squinty eyes!
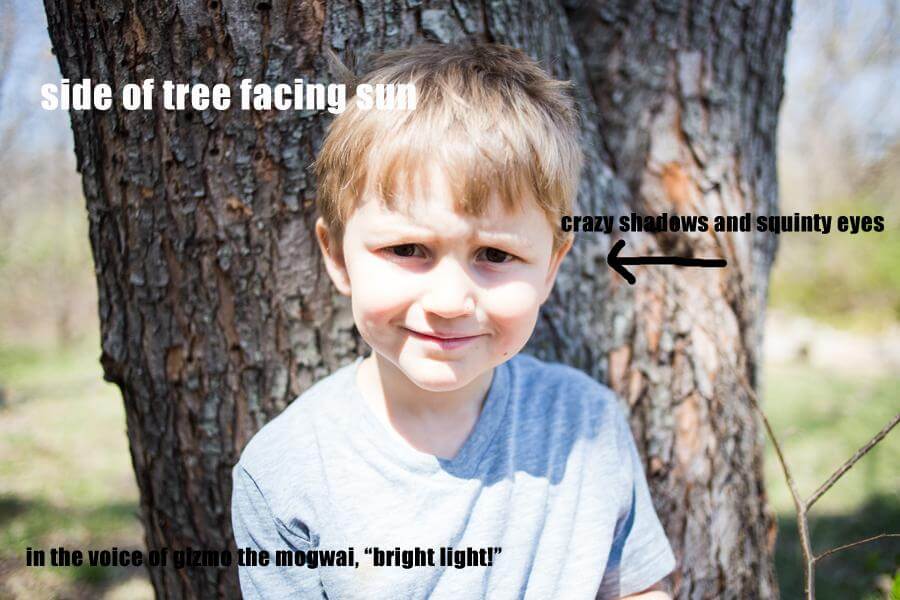
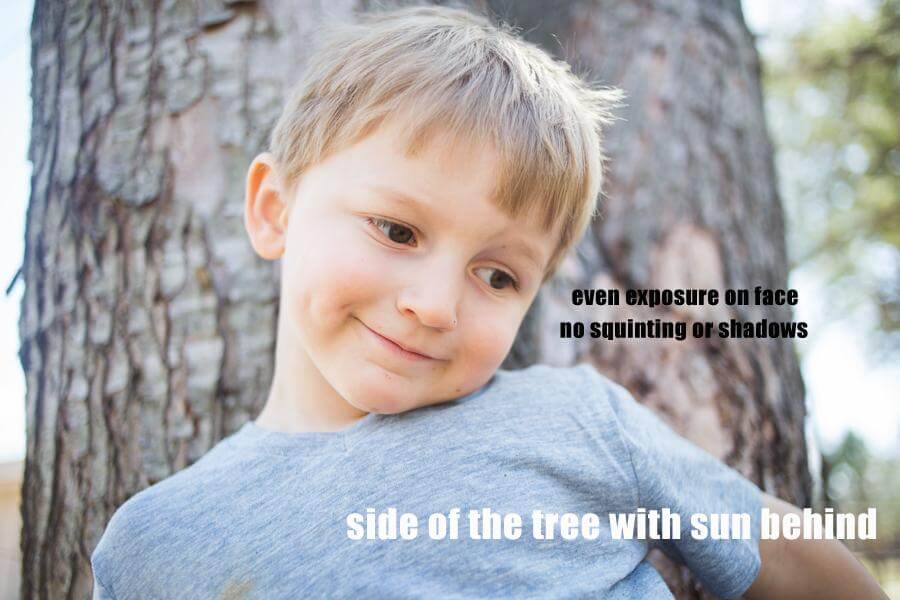
In the example pictures below I asked my little one to let me photograph him on both sides of a tree. The first image is obviously with him looking into the sun. Notice his eyes are in the shadow and the lighting is just off. In the second image, I asked him to move to the opposite side of the tree. Notice the sun was behind him and he was in a perfect little shady pocket.
When comparing these two images, you can quickly see how positioning in the sun makes a huge difference!
Is the middle of the day a photographer's dream? Not really, but it also doesn't have to be a nightmare either. Don't be afraid to pick up your camera and shoot during the middle of the day - just follow these tips when shooting in bright sun.
Do you have any questions or comments about How to Take Photos in Bright Sunlight? Leave us a comment below - we would LOVE to hear from you! And PLEASE SHARE this post using the social sharing buttons (we really appreciate it)!


Allison Wheeler is a lover of lifestyle photography from Norman, Oklahoma. Her eyes were opened to photography by toying with Instagram in 2010. She got a camera soon after and learned to use it by documenting her life with her husband and three young sons. She now happily does the same for others, from births to weddings and almost everything in between. To see Allison's most recent work, visit her Facebook page. She often gets on Pinterest to avoid cleaning her house.

Comments